Infisical is compatible with Vault Self-hosted, HCP Vault Dedicated, and HCP Vault Enterprise deployments. Please note that HCP Generic Secrets are currently not supported.
1
Navigate to Vault Access
2
Enable New Method
In the Authentication Methods tab, click on Enable new method.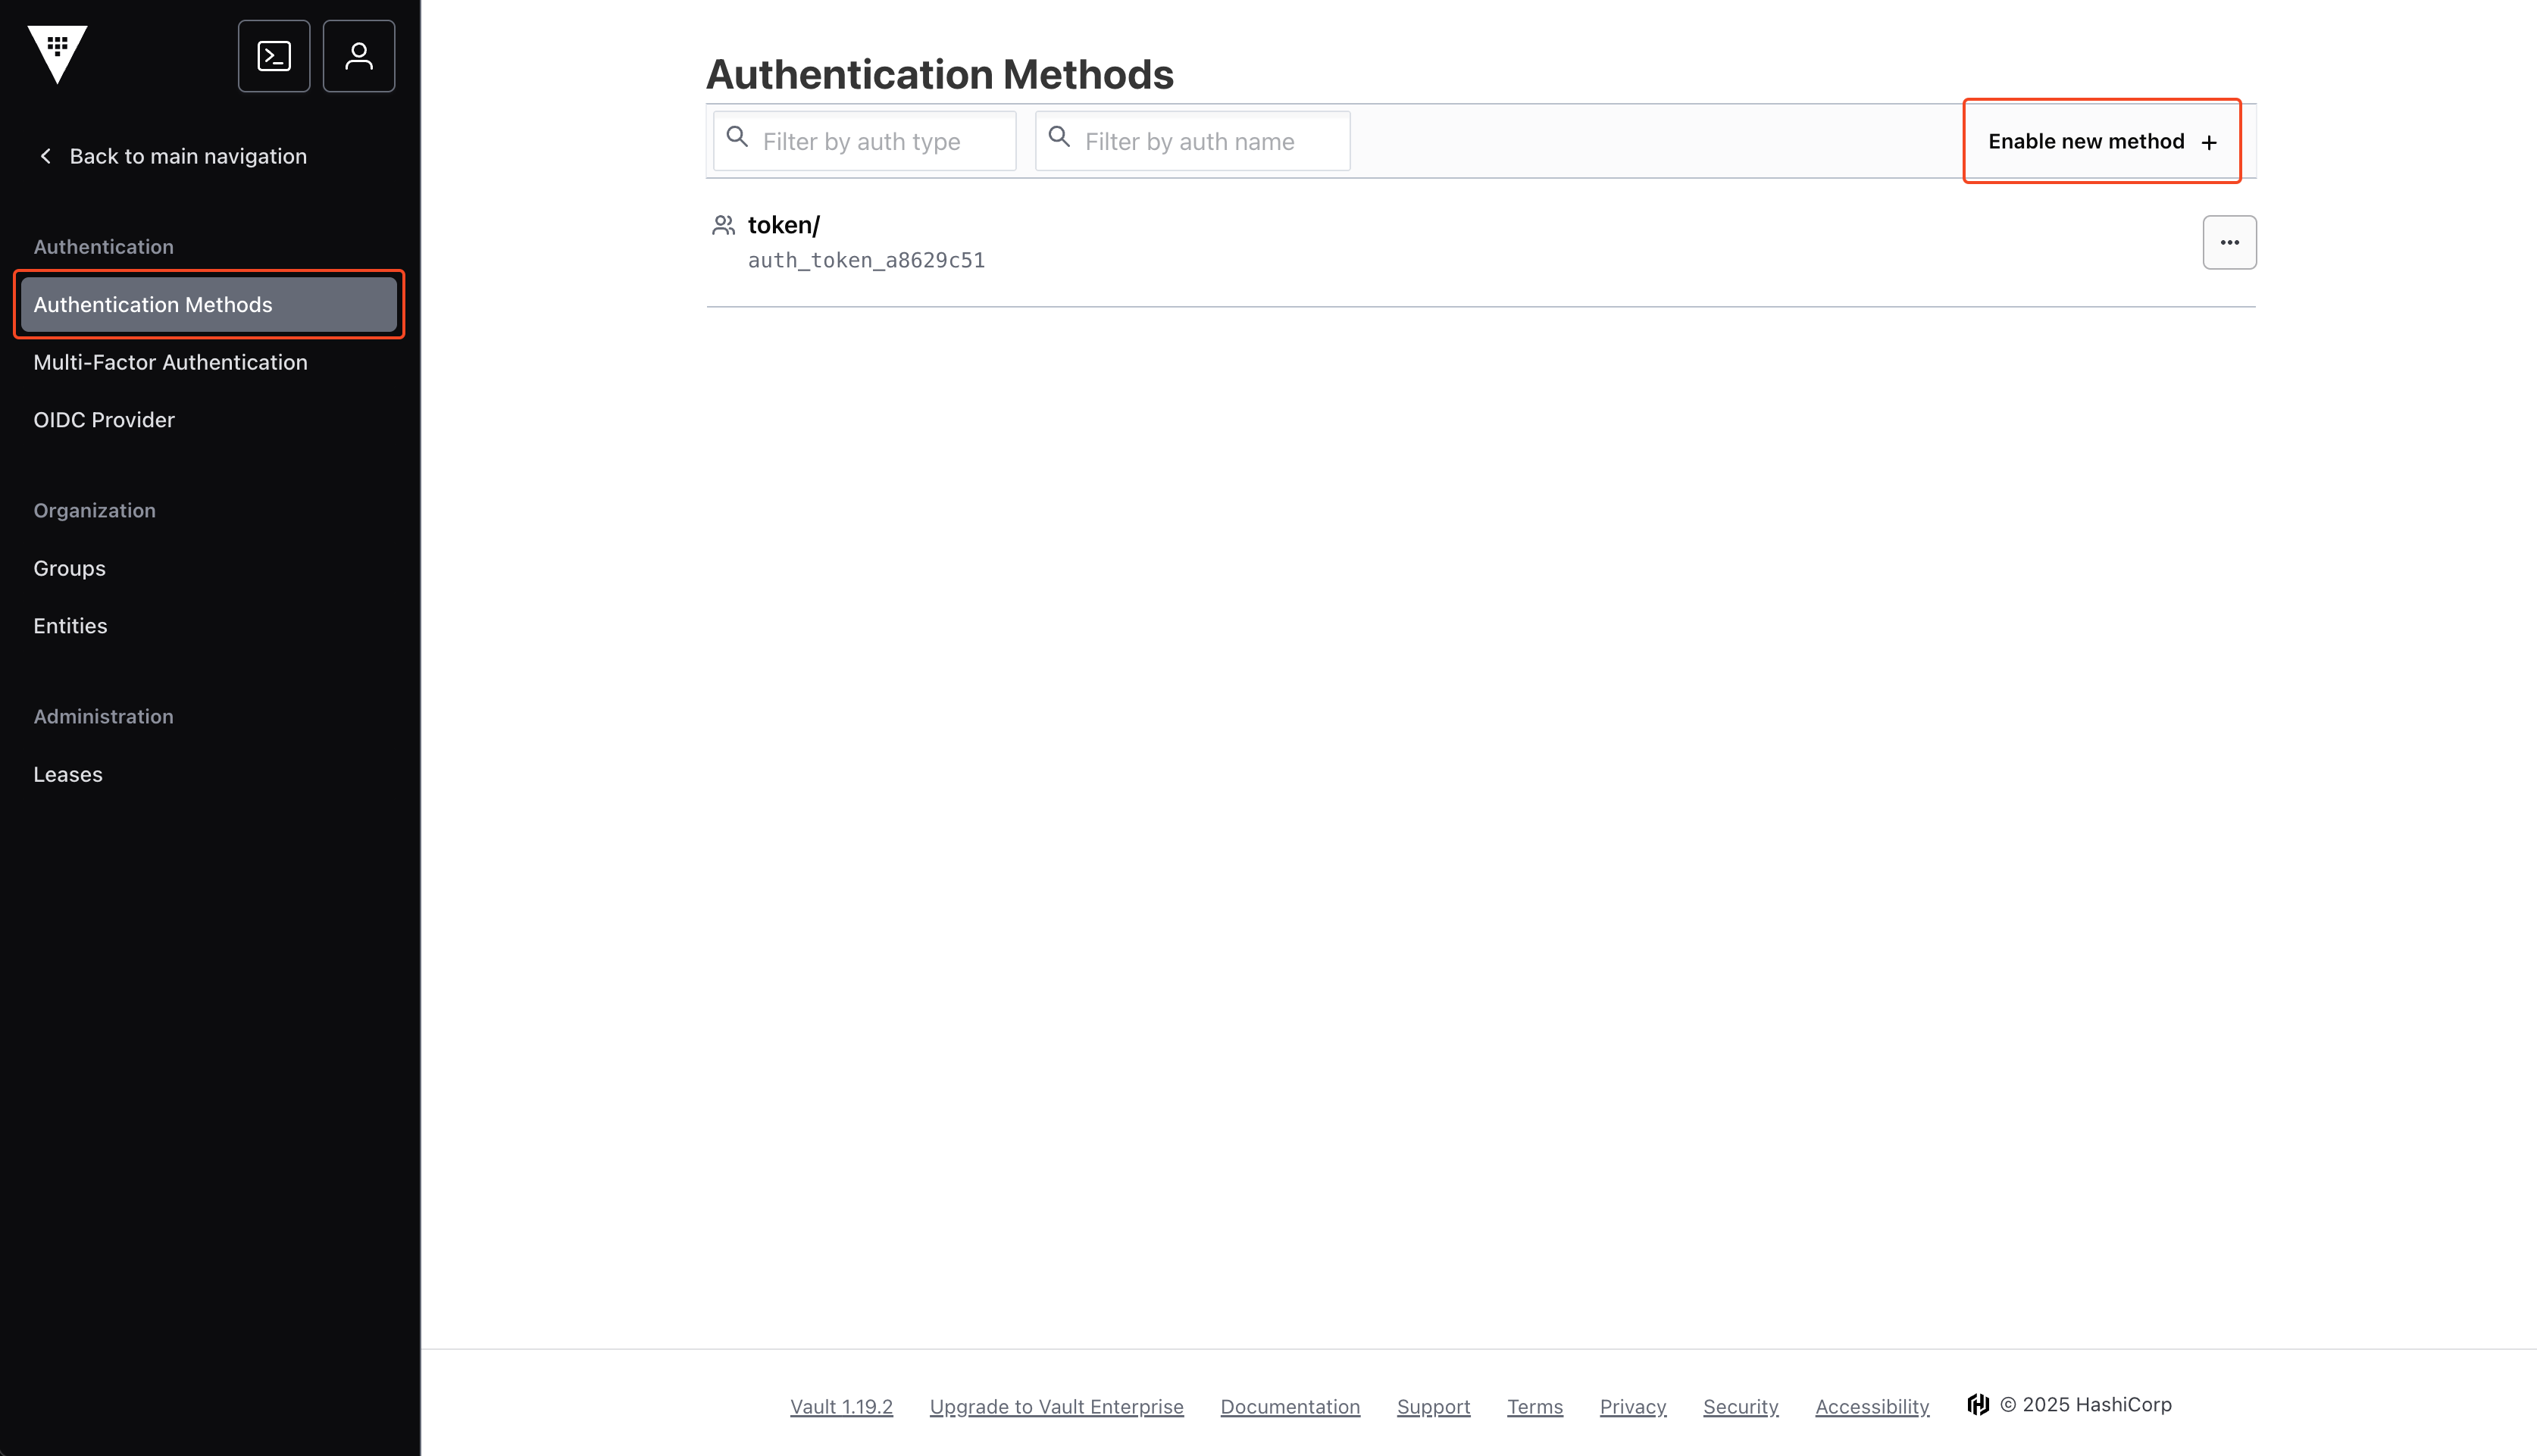
3
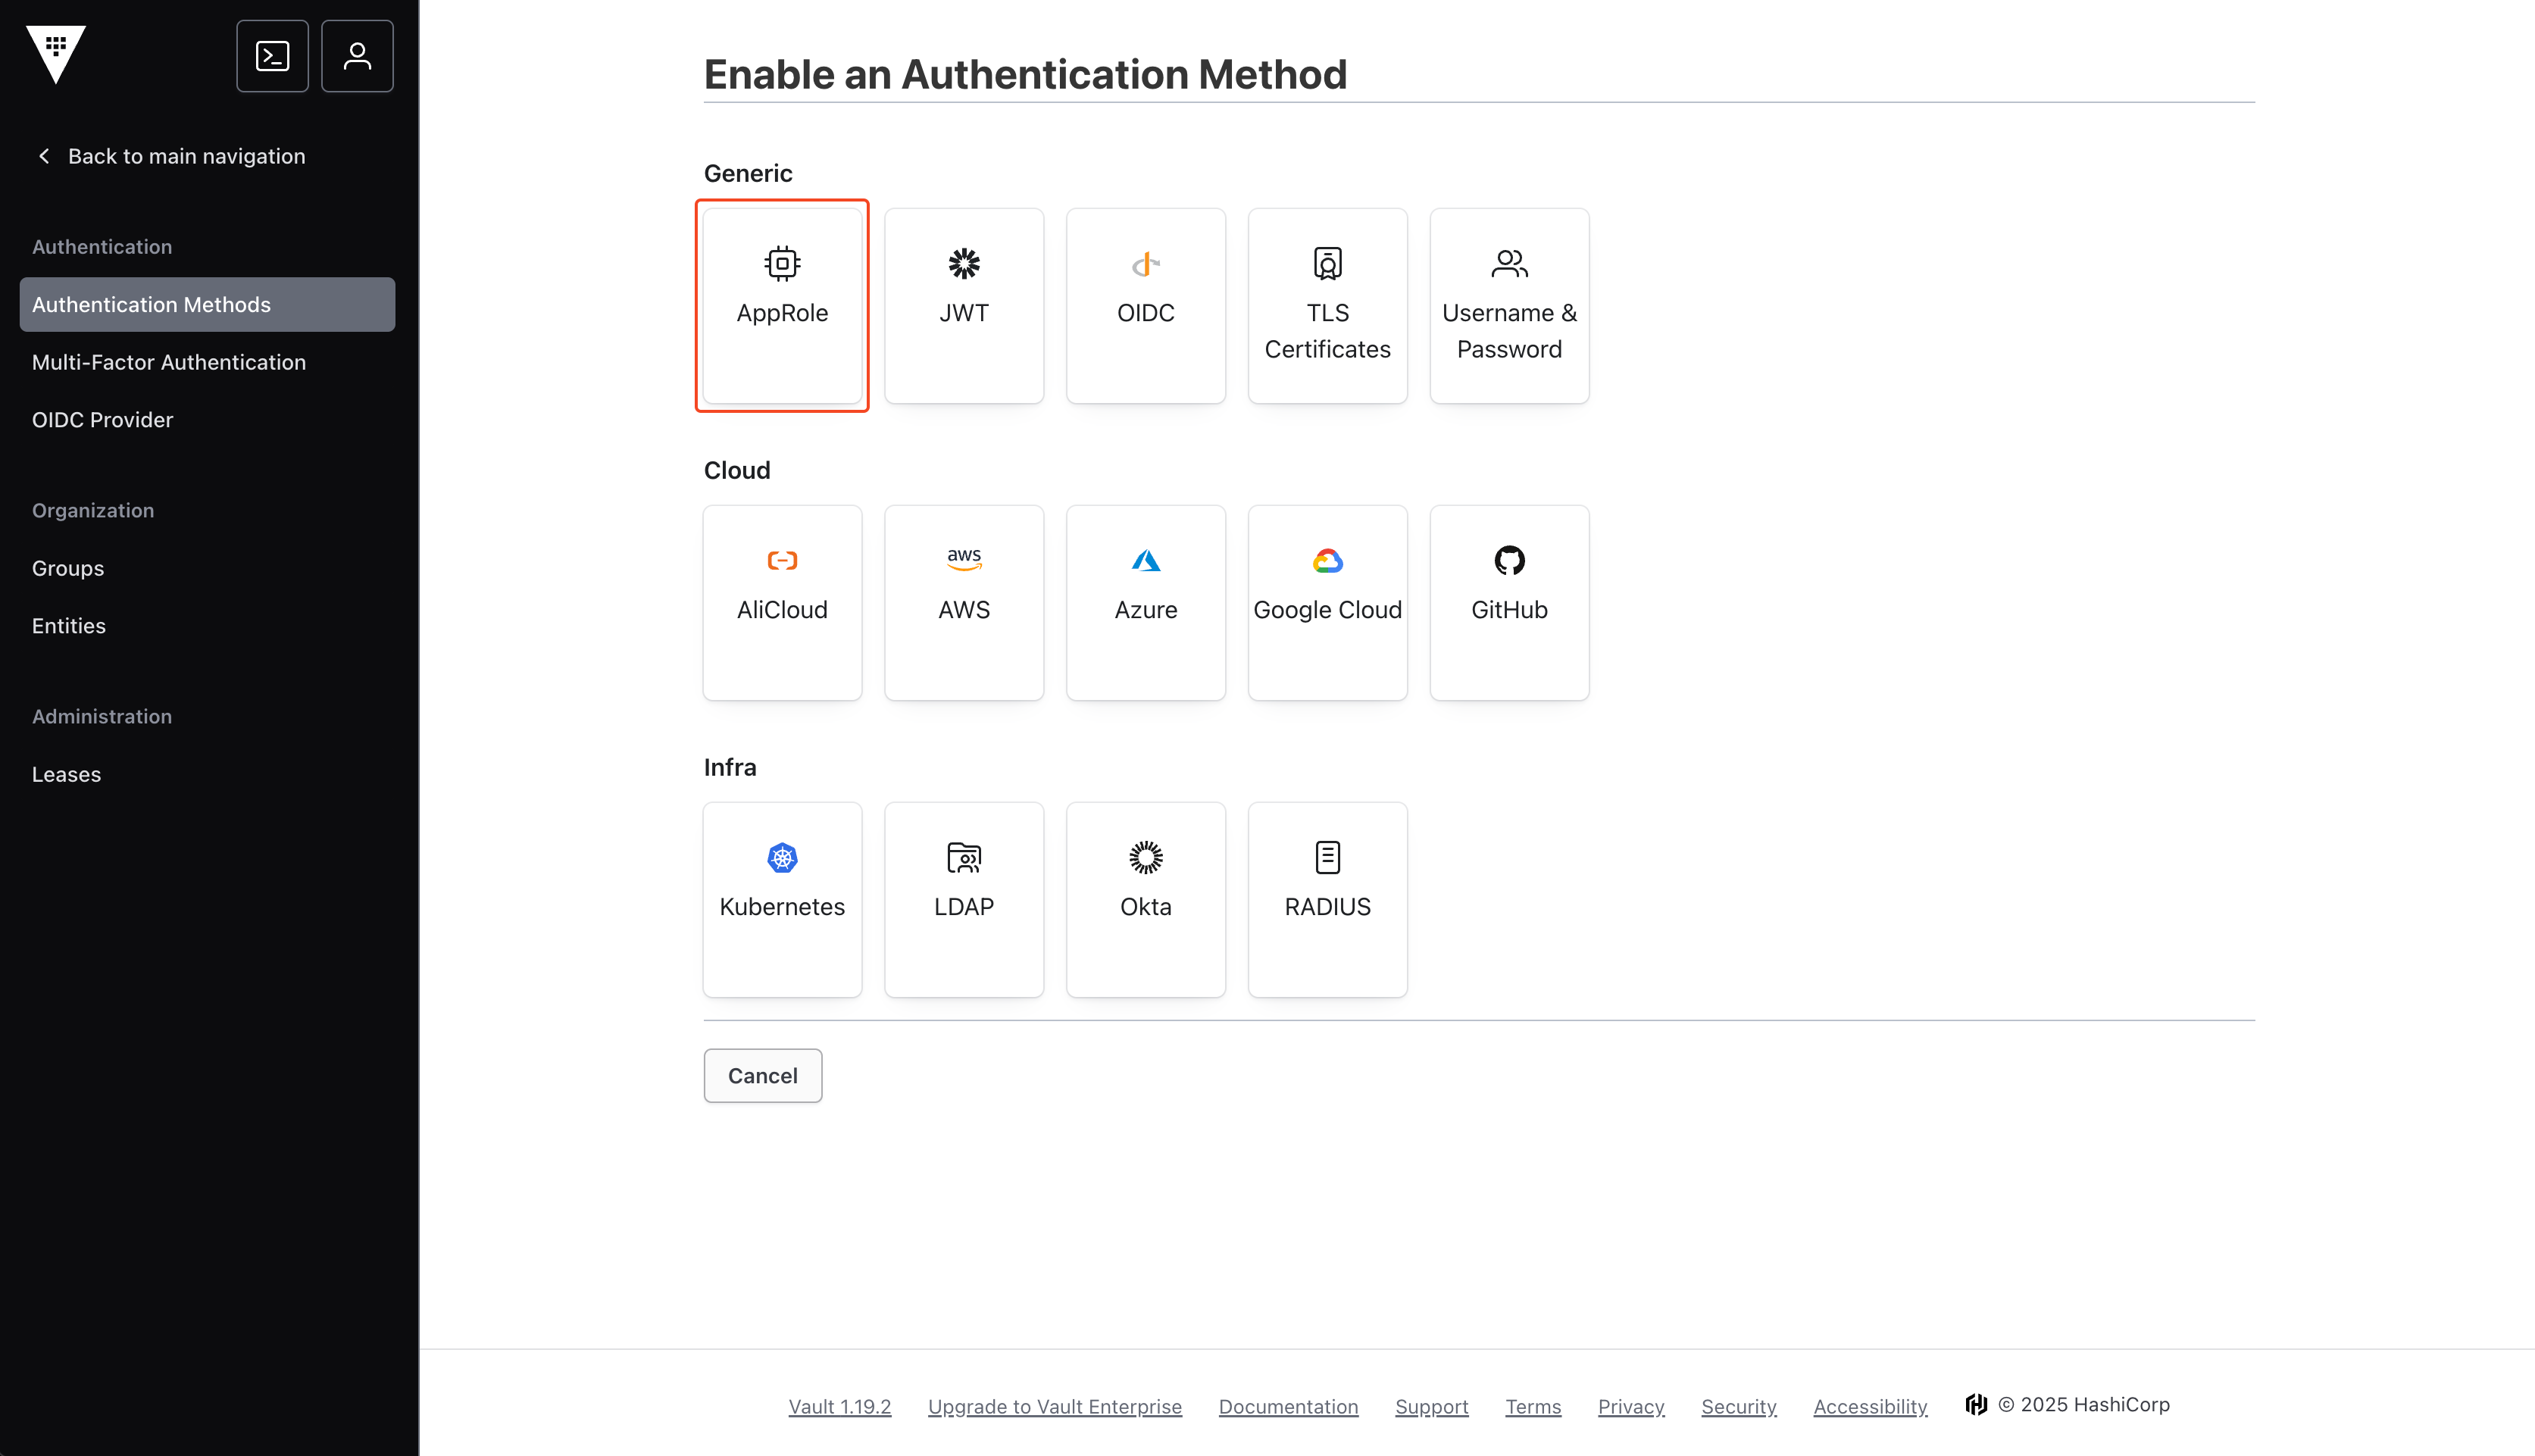
Select AppRole
4
Enable Method
You may change the name of the method, but we suggest keeping it as 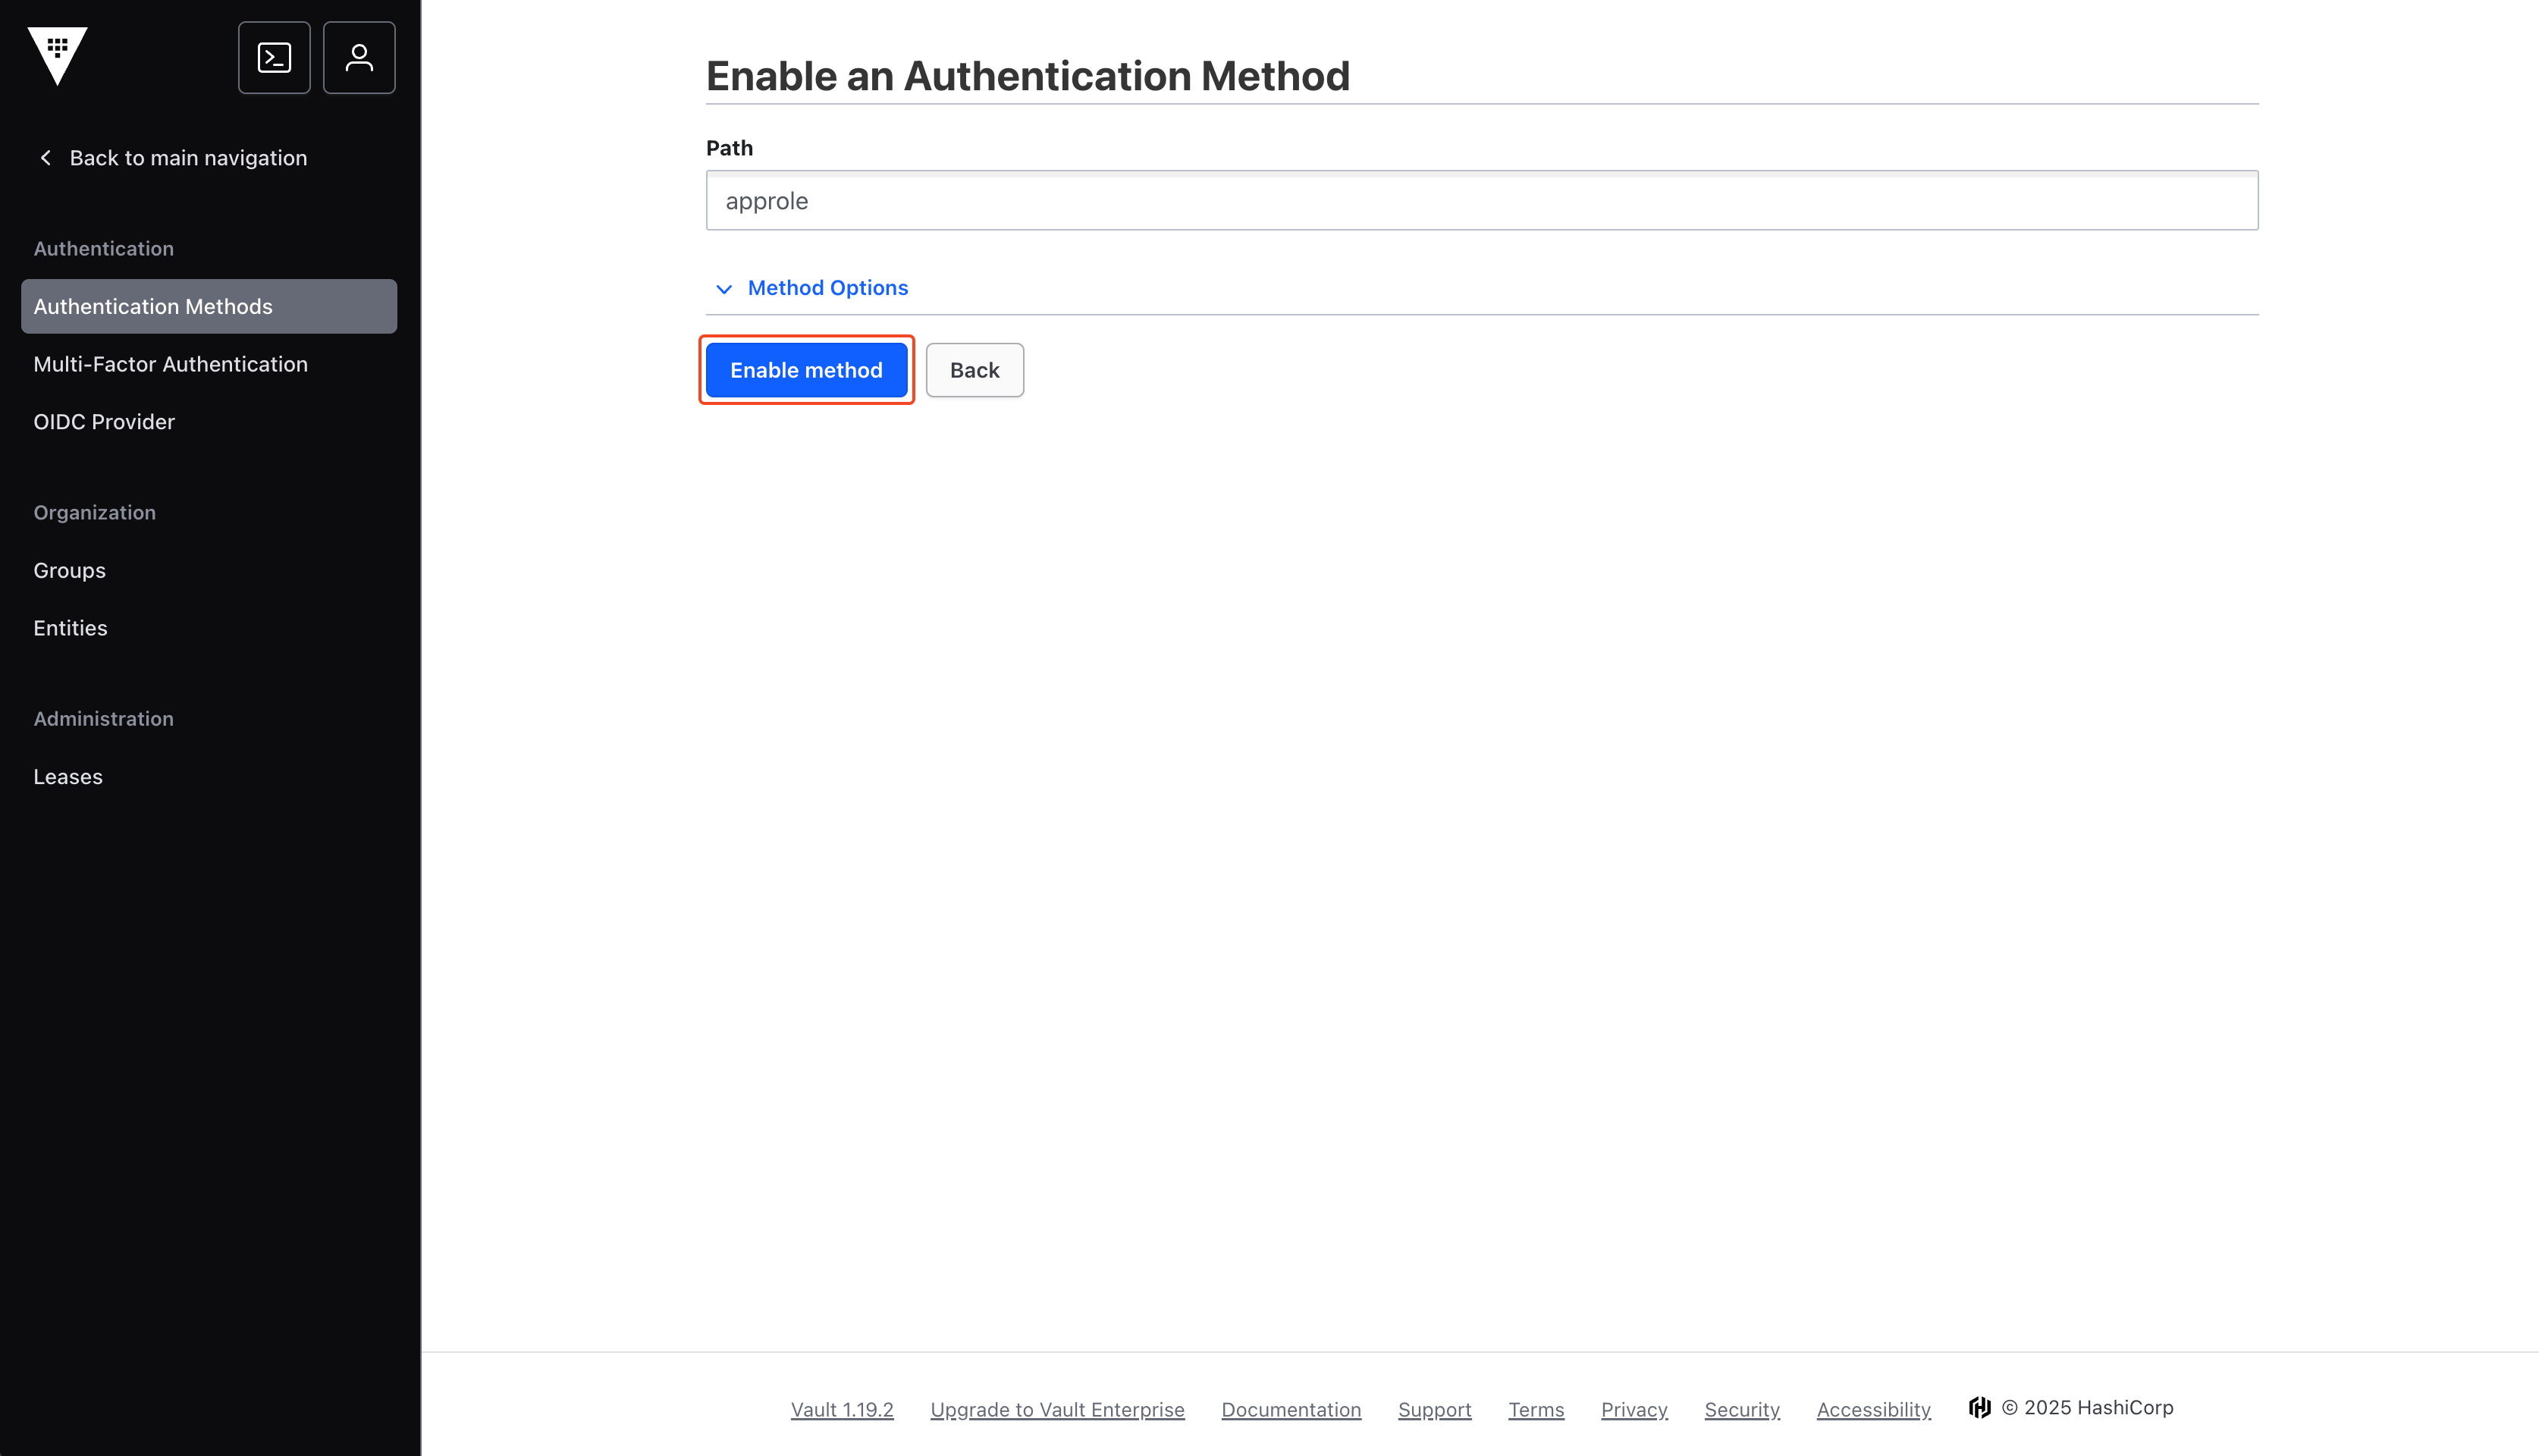
approle.5
Navigate to Vault Policies
From the home page, navigate to Policies.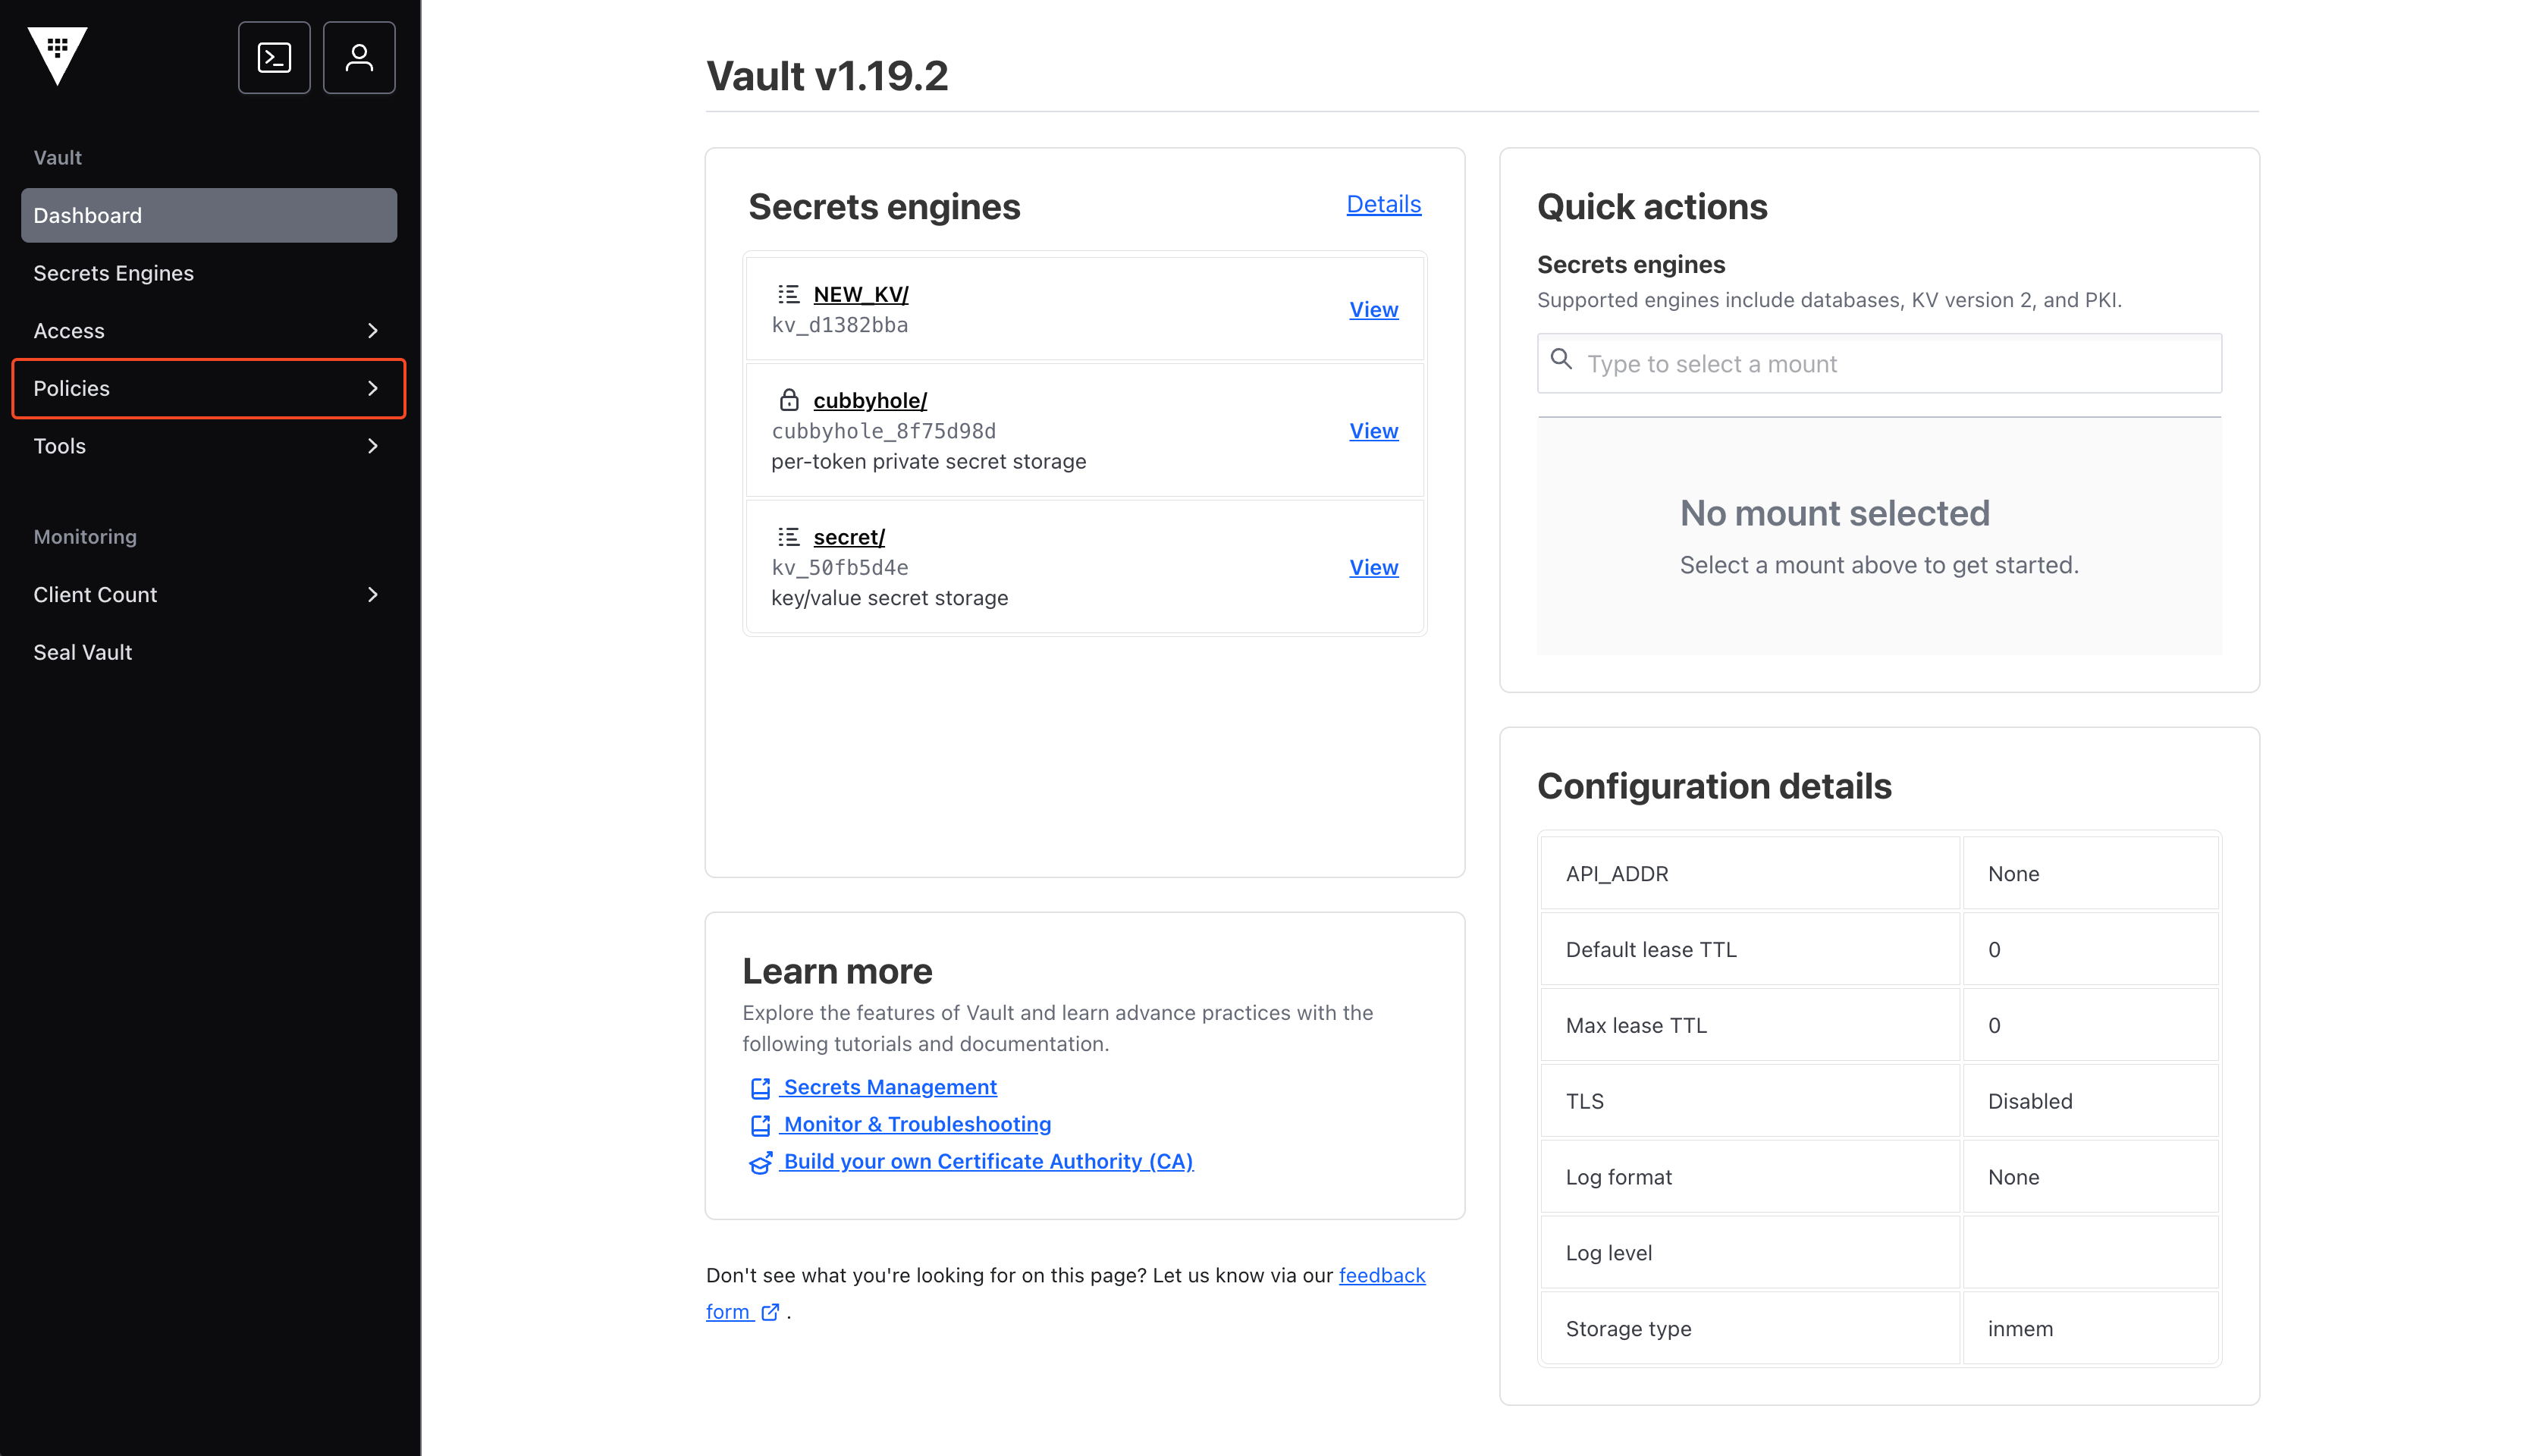
6
Create ACL Policy

7
Create Policy
You may name your policy whatever you want, but remember the name as it will be used in future steps.Depending on your use case, you may have different policy configurations: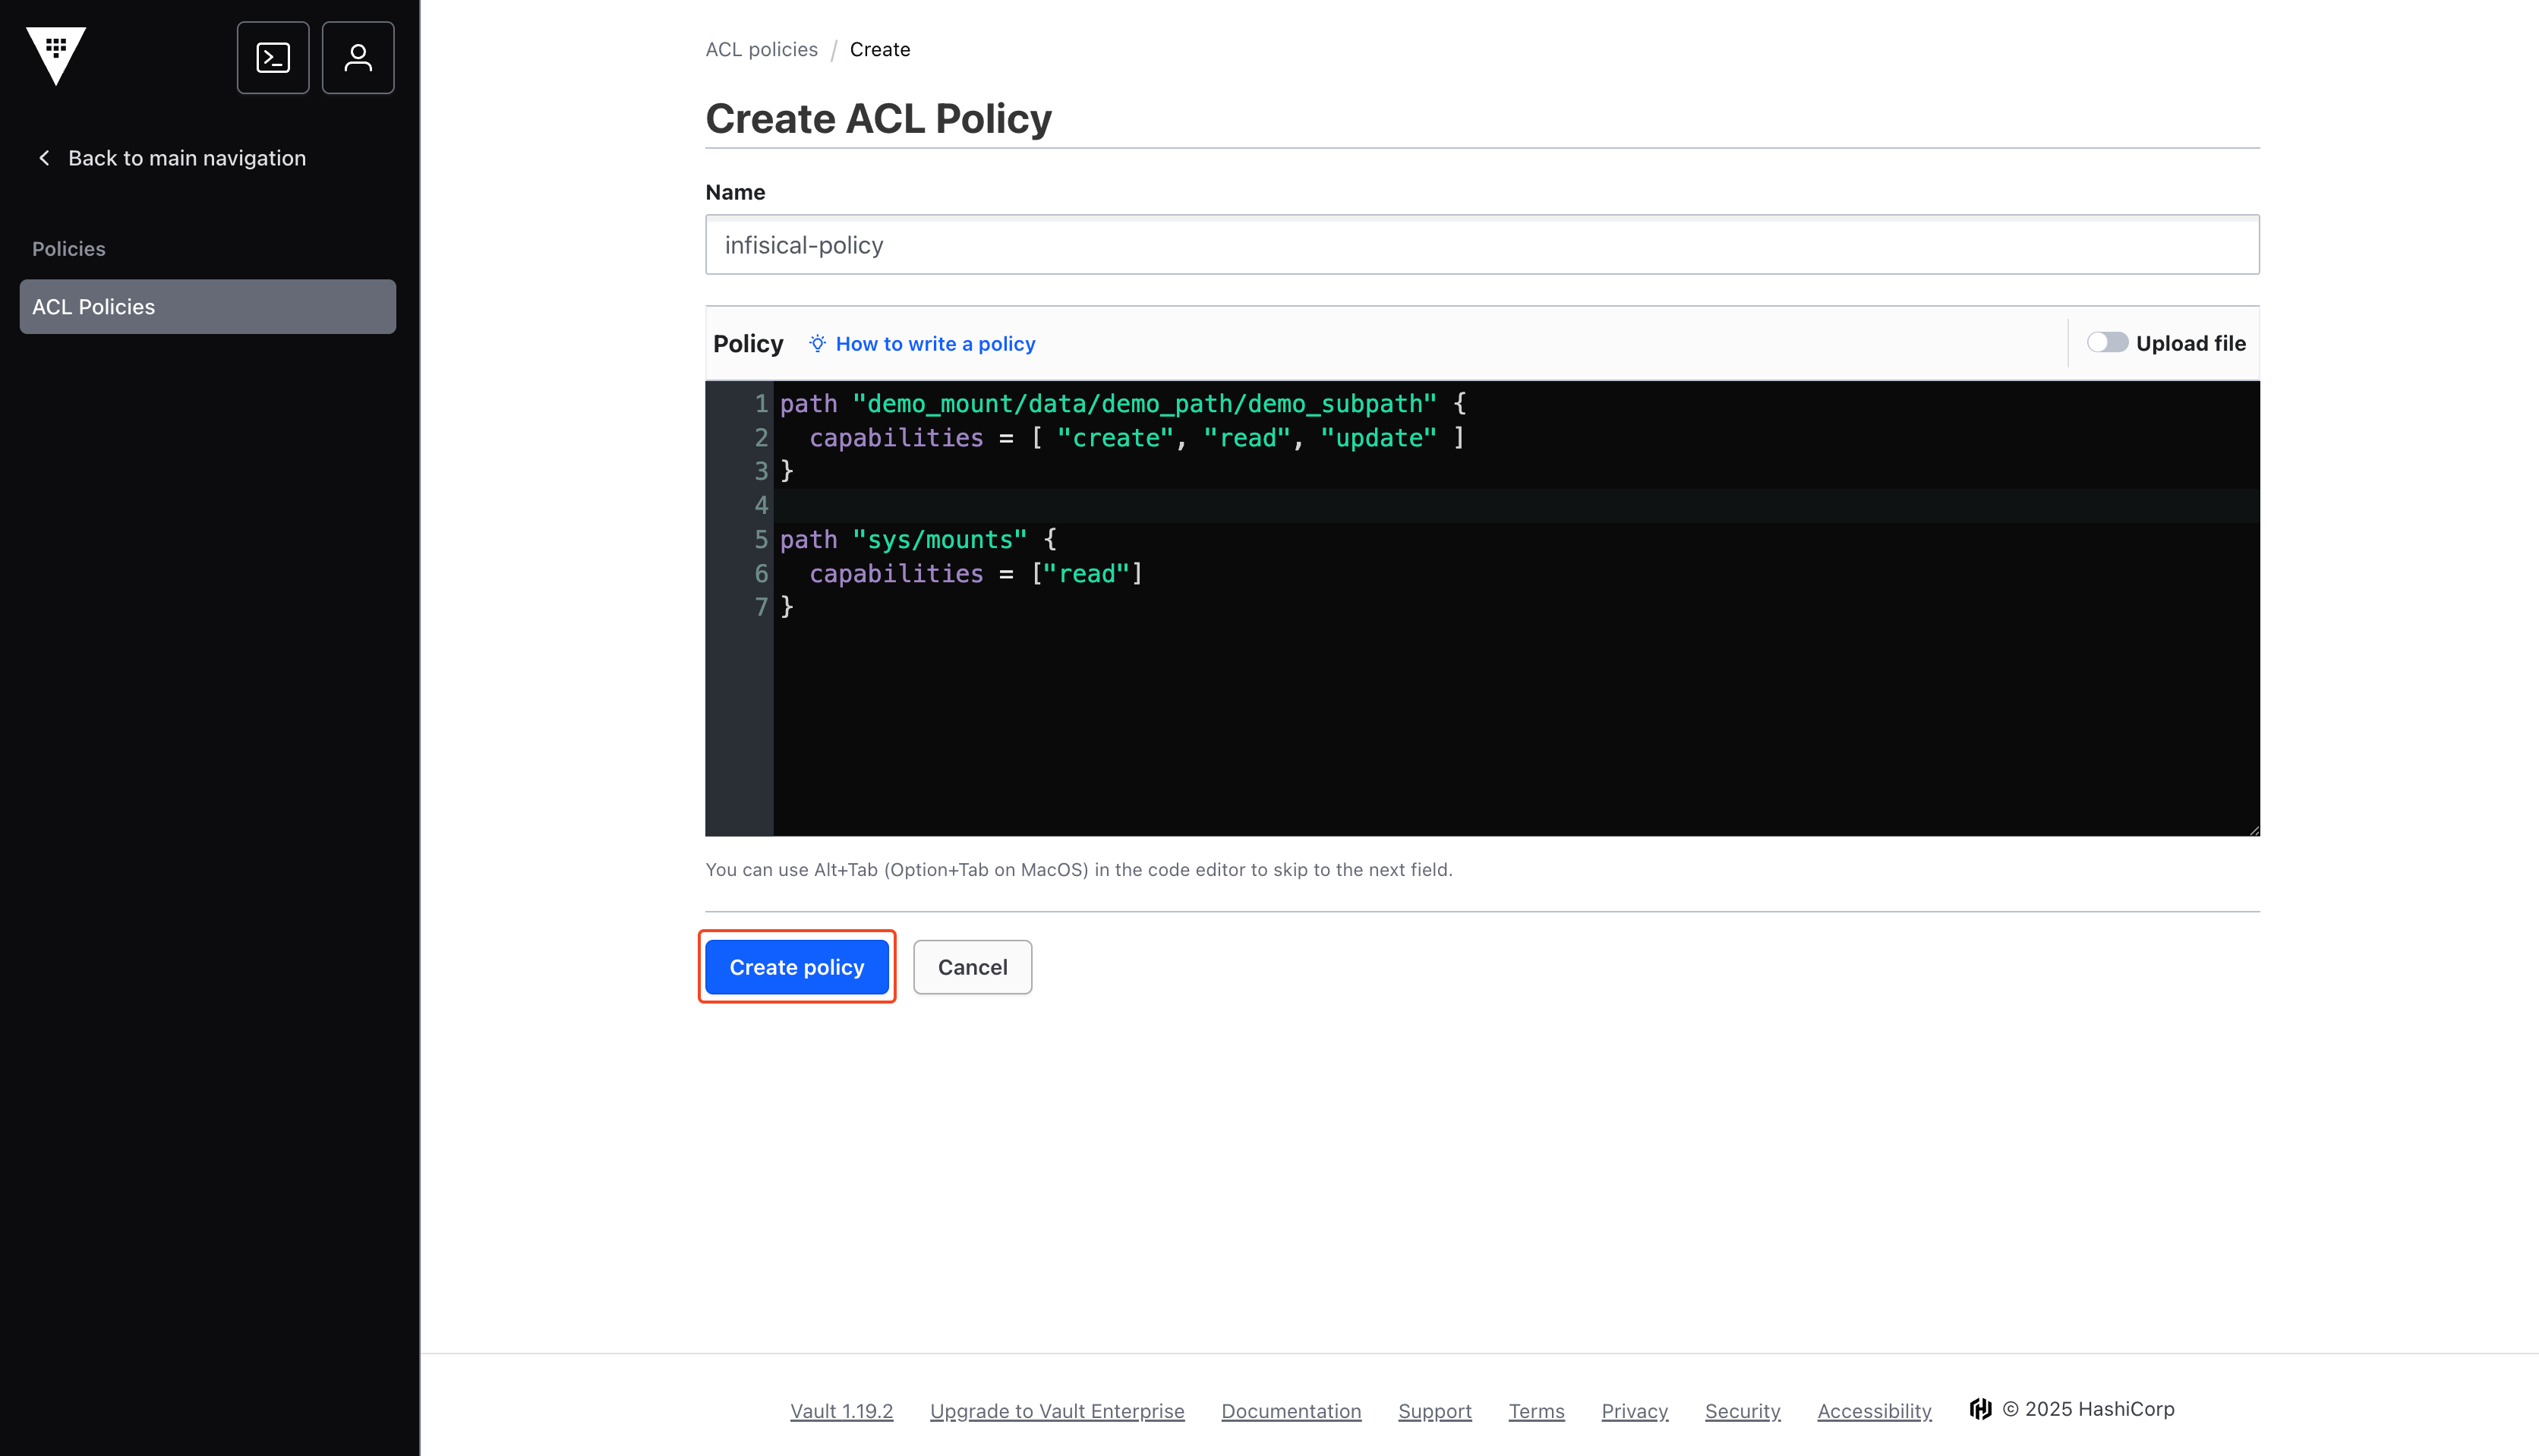
- demo_mount: The name of the target secrets engine (e.g., ‘secret’, ‘kv’).
- data/*: The path within the secrets engine used for storing secrets. The wildcard (*) grants access to all secrets within this mount point.
Make sure to replace the policy path with the specific path where you intend to sync your secrets. For better security and control, it’s recommended to use a more granular path instead of a wildcard (*). You can also specify a path that doesn’t yet exist—Infisical will automatically create it for you during the sync process.
8
Run Shell Commands
Open Vault Shell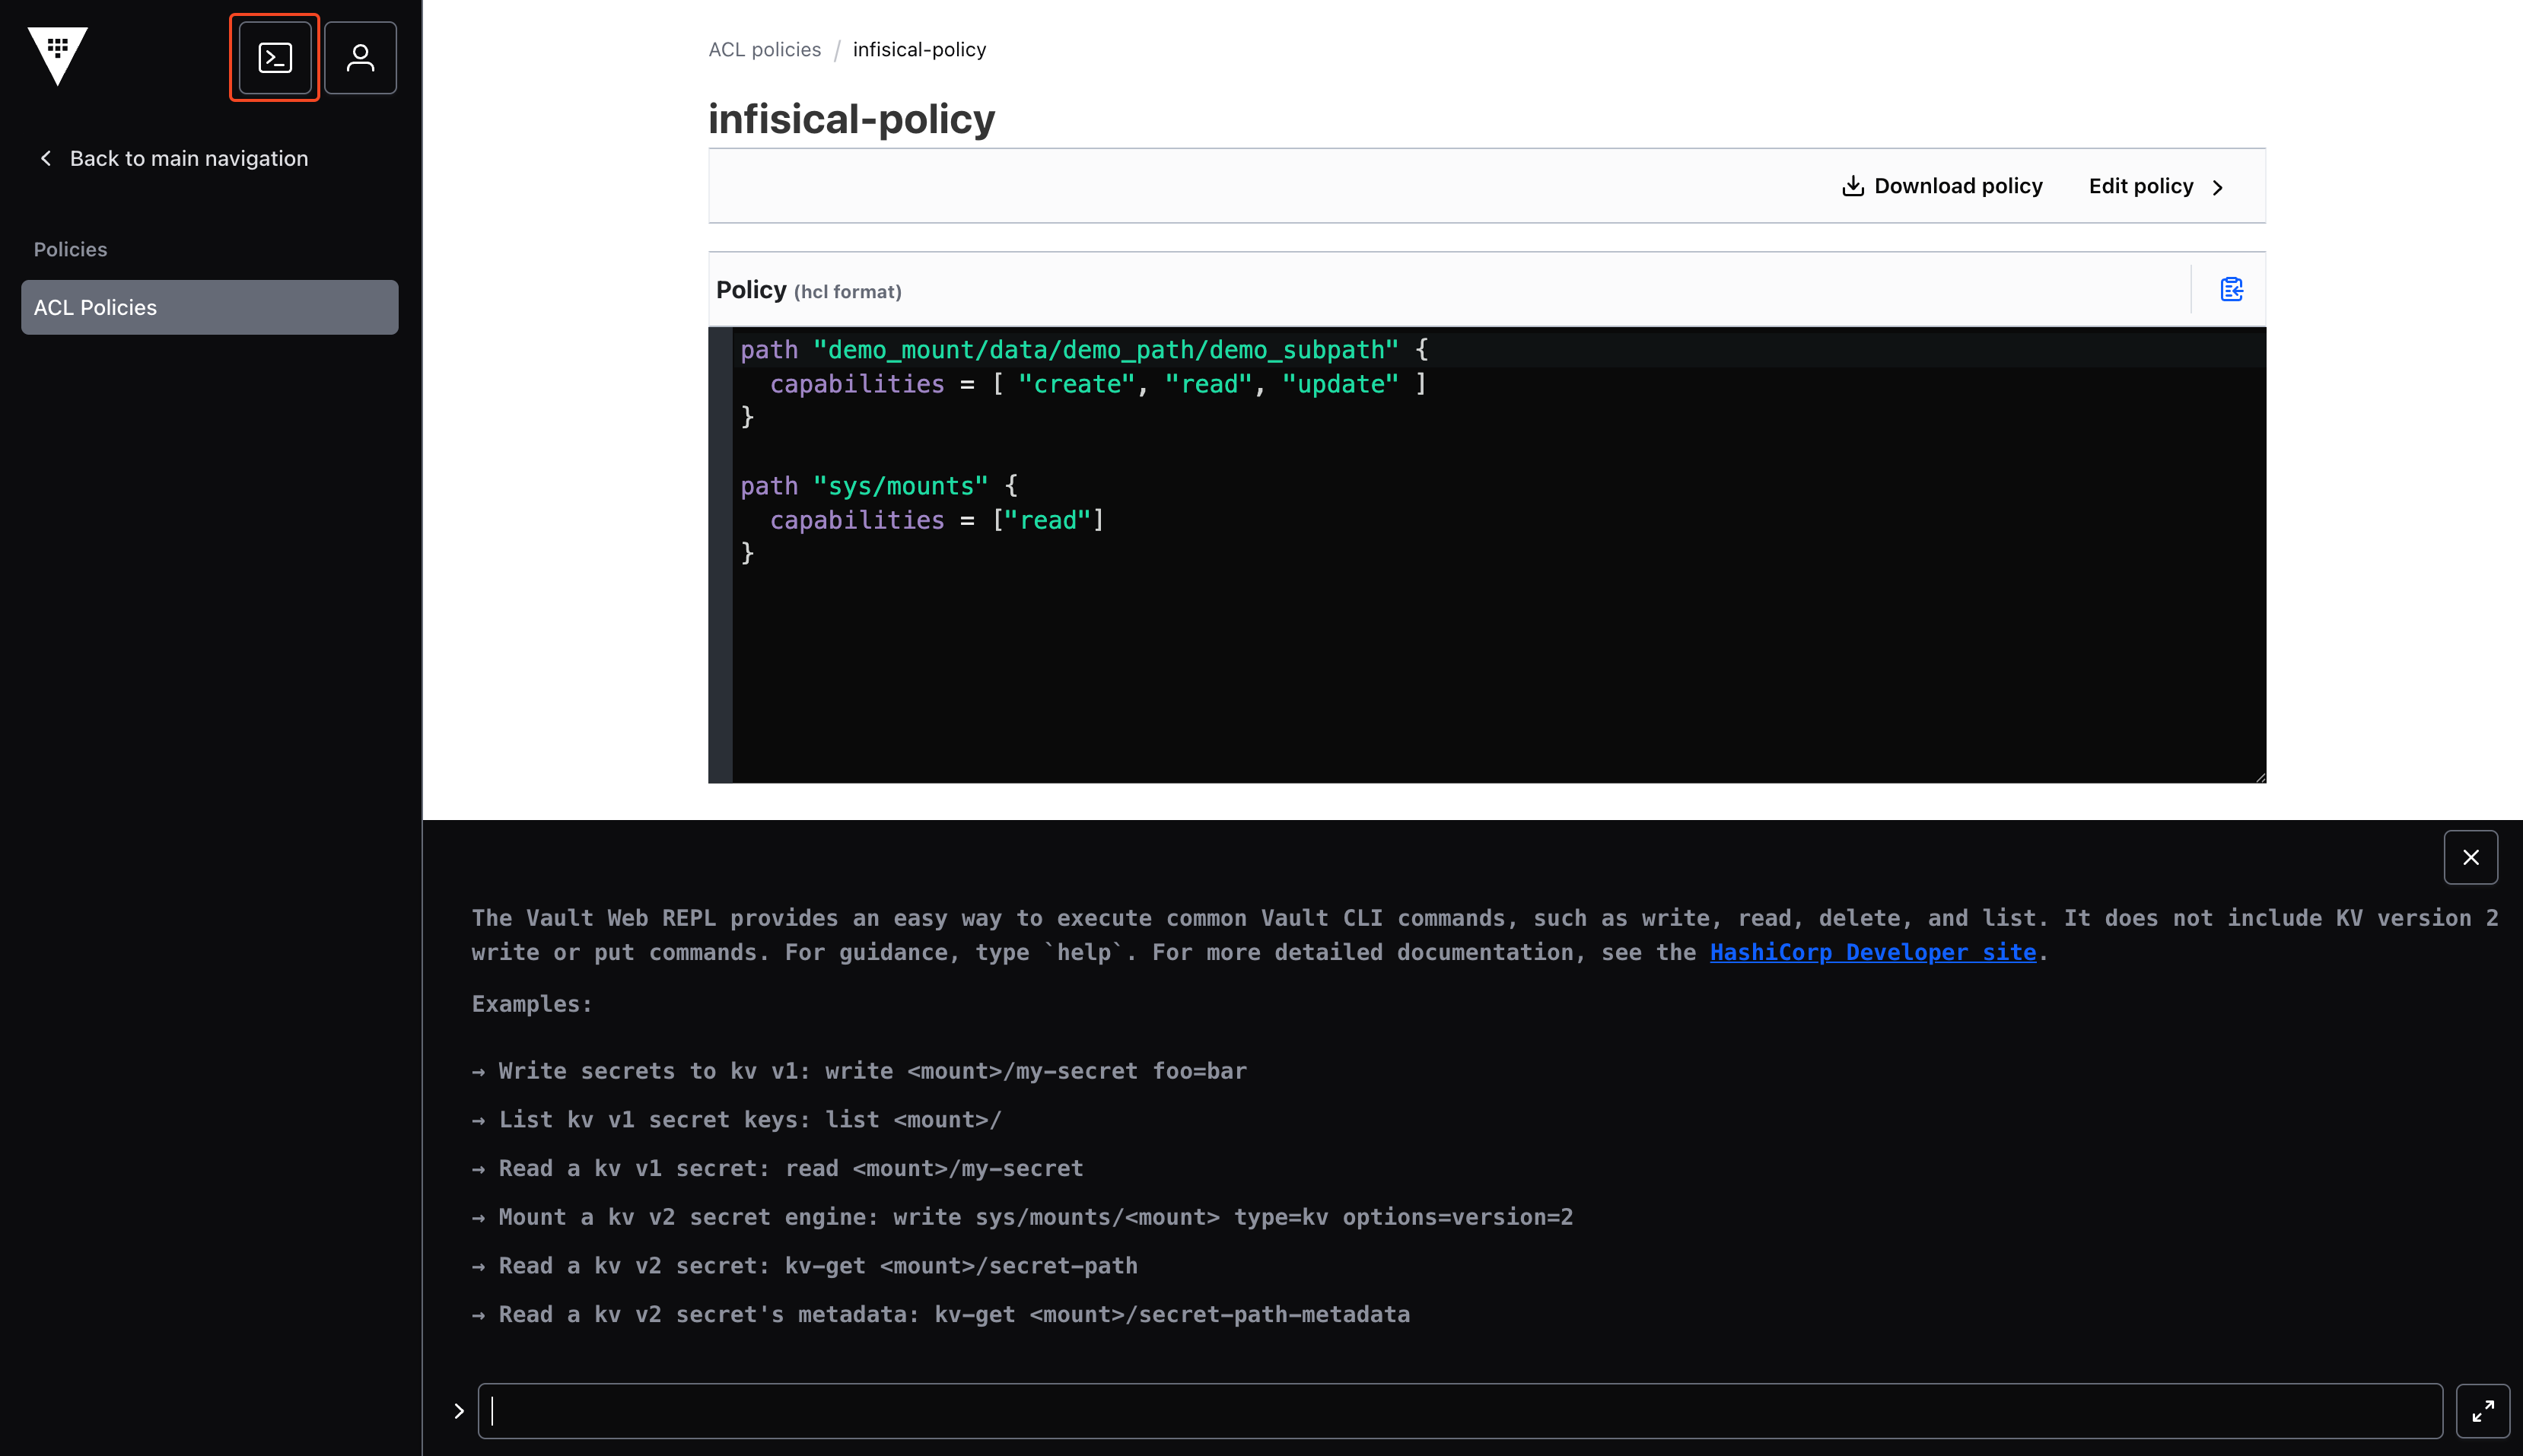 Create Infisical RoleRead RoleIDGenerate New SecretIDYour shell output should look similar to the image below. Save the RoleID and SecretID values for later steps.
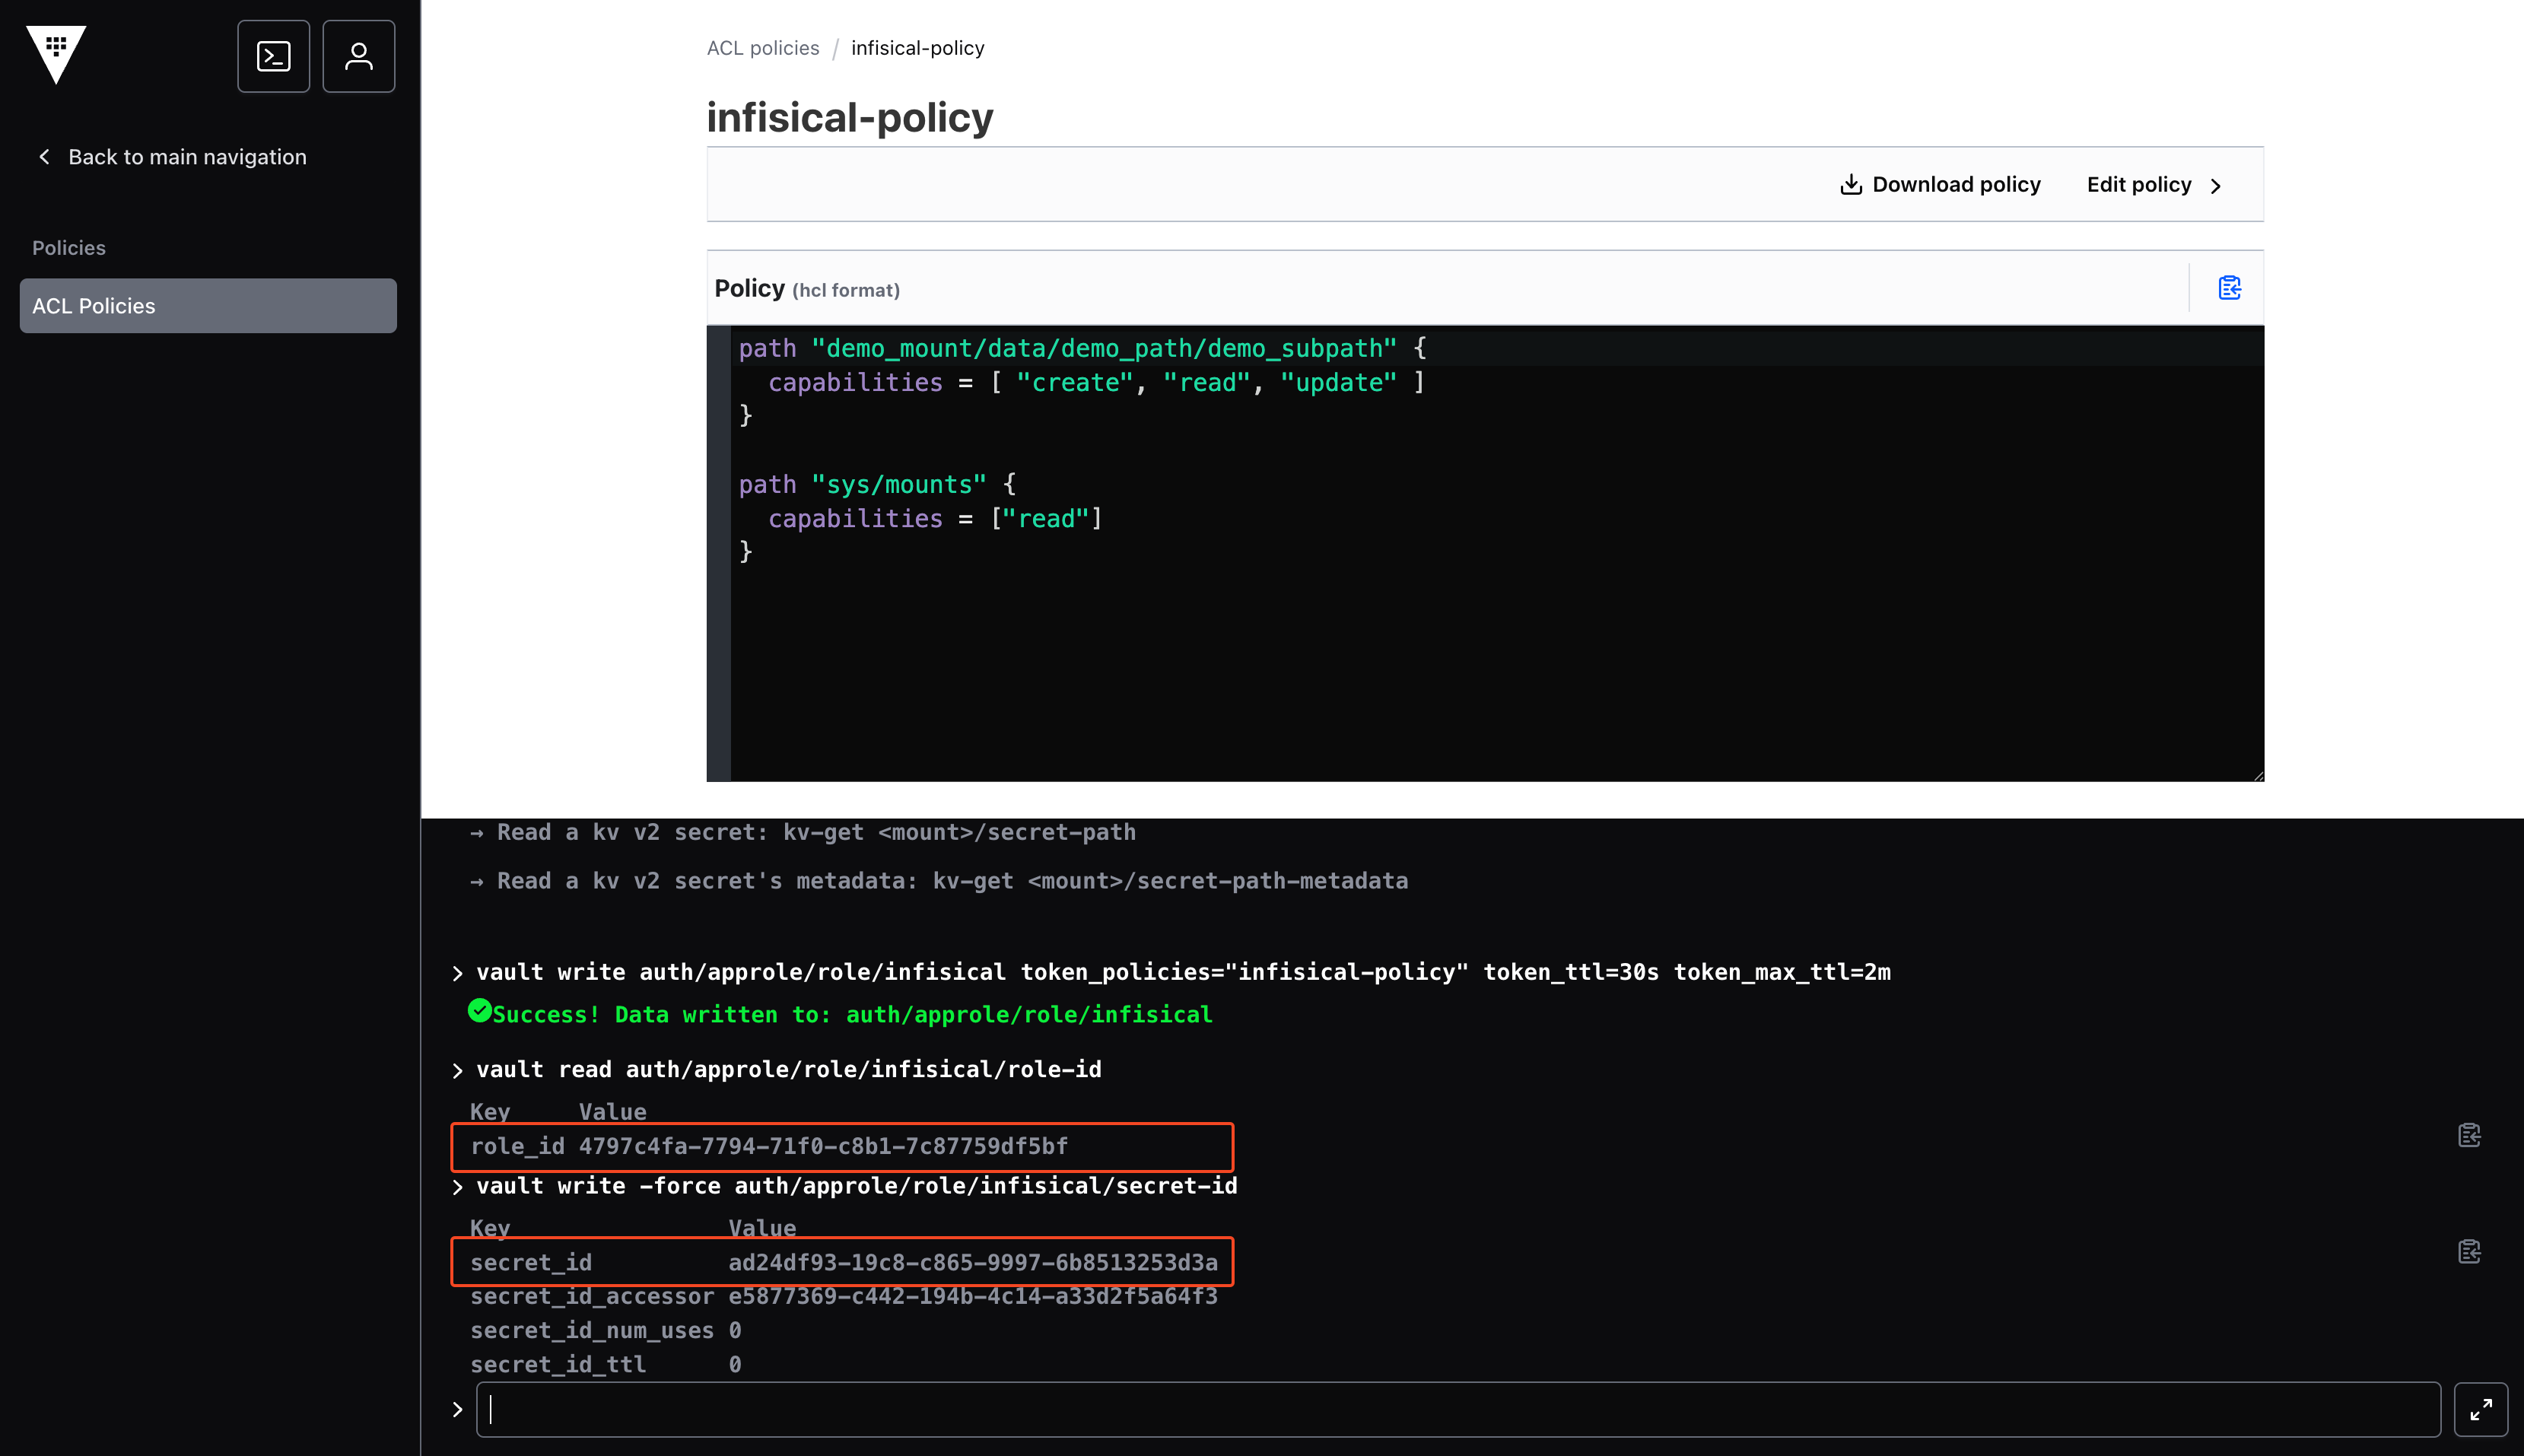
If you used custom approle or policy names in previous steps, you’ll need to customize the following commands.
Getting Vault Instance URL
For self-hosted instances, locate and copy your vault’s base URL (for example:
https://vault.example.com).Save the URL for later steps.Setup Vault Connection in Infisical
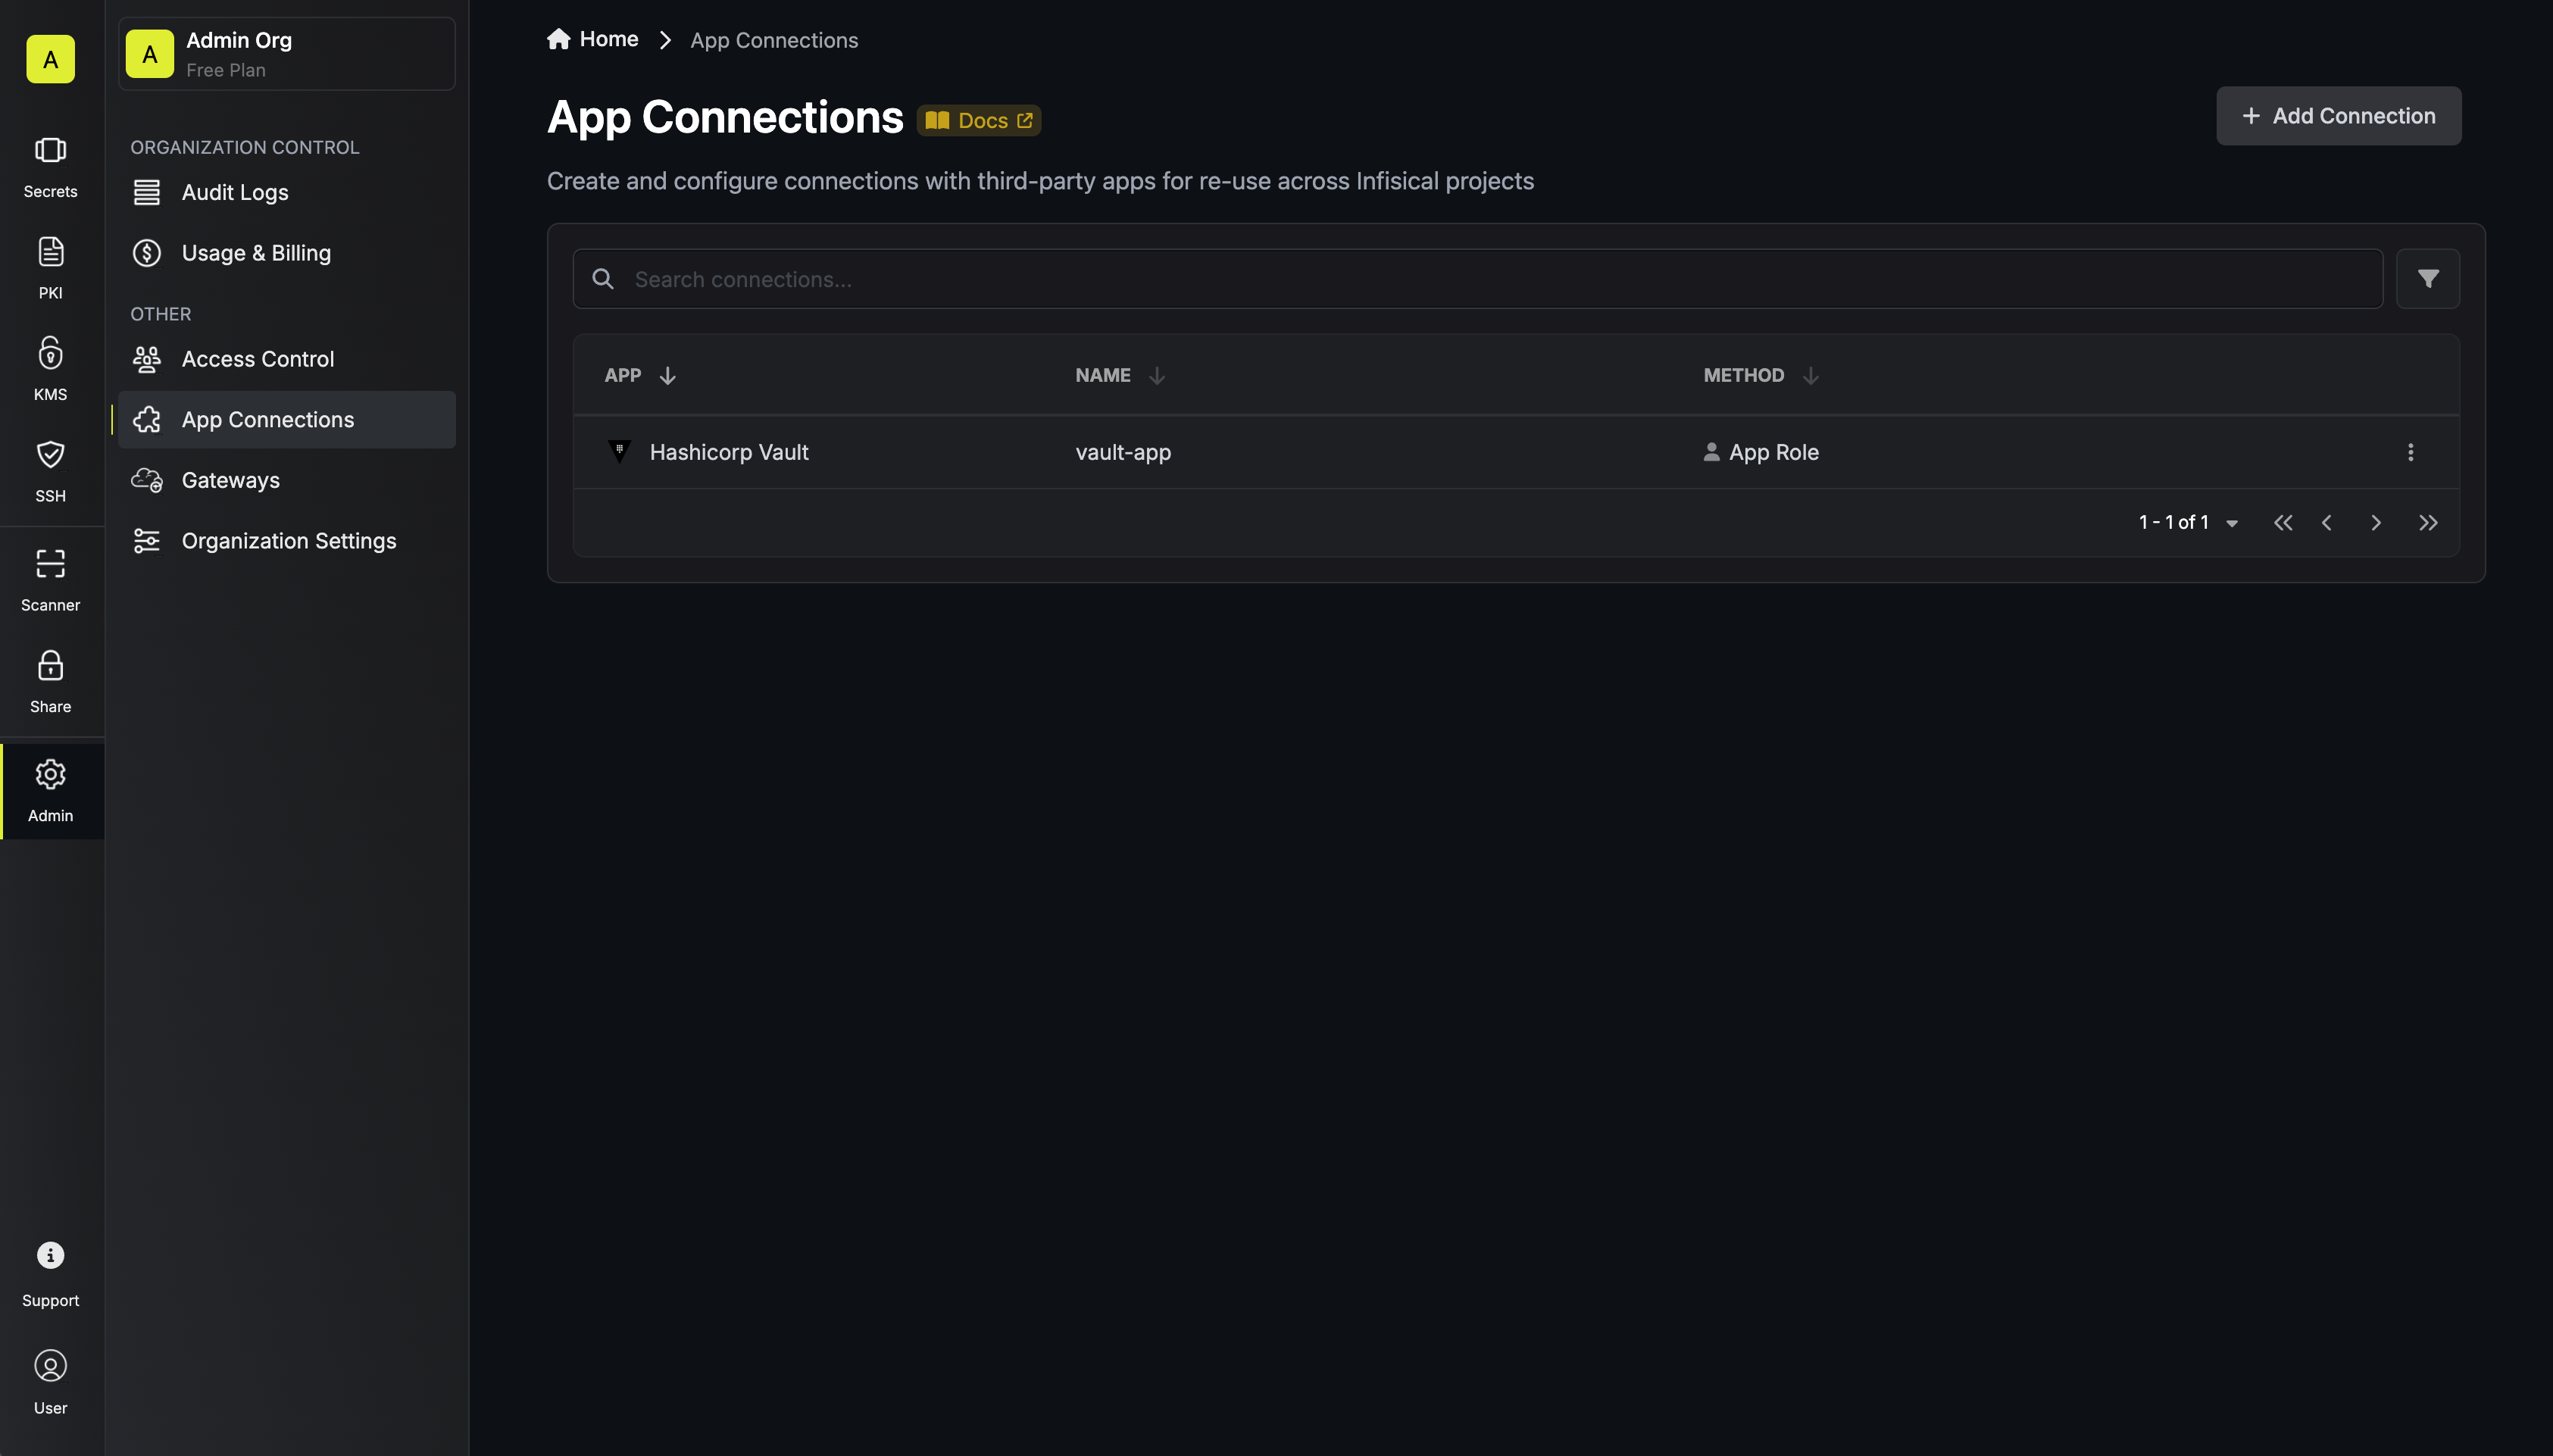
1
Navigate to App Connections
In your Infisical dashboard, navigate to the App Connections page in the desired project.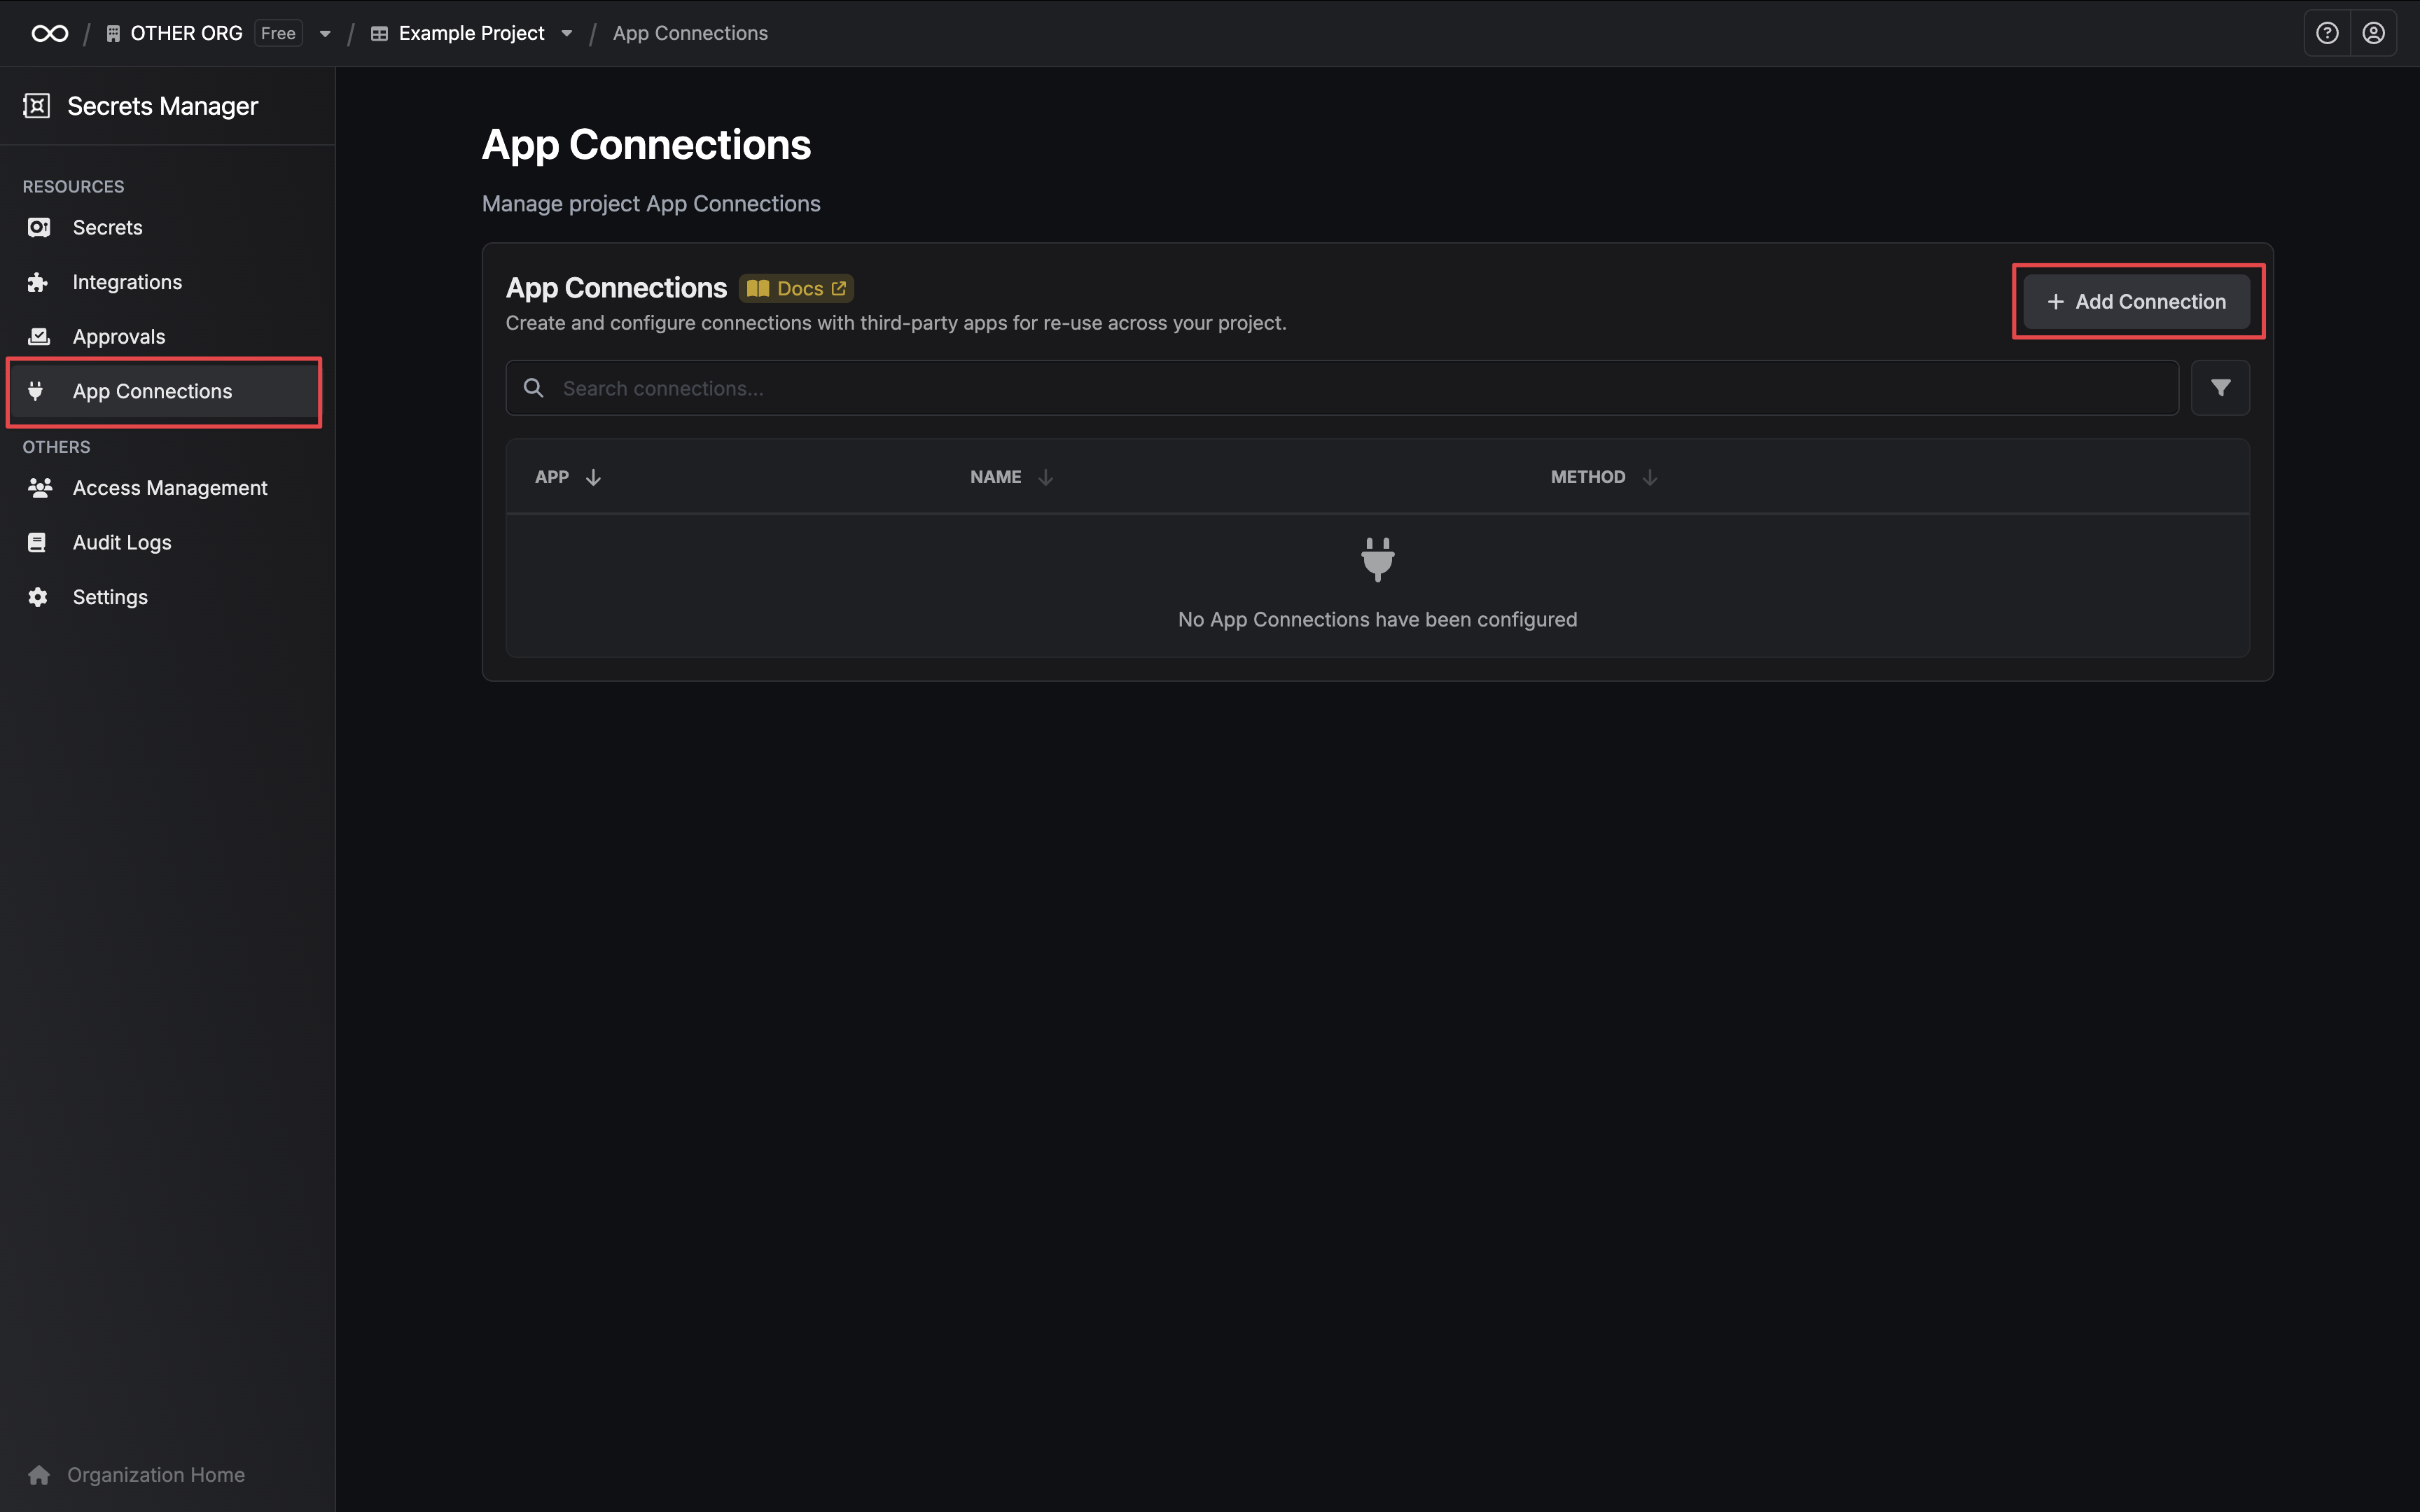
2
Add Connection
Click the + Add Connection button and select the Hashicorp Vault Connection option.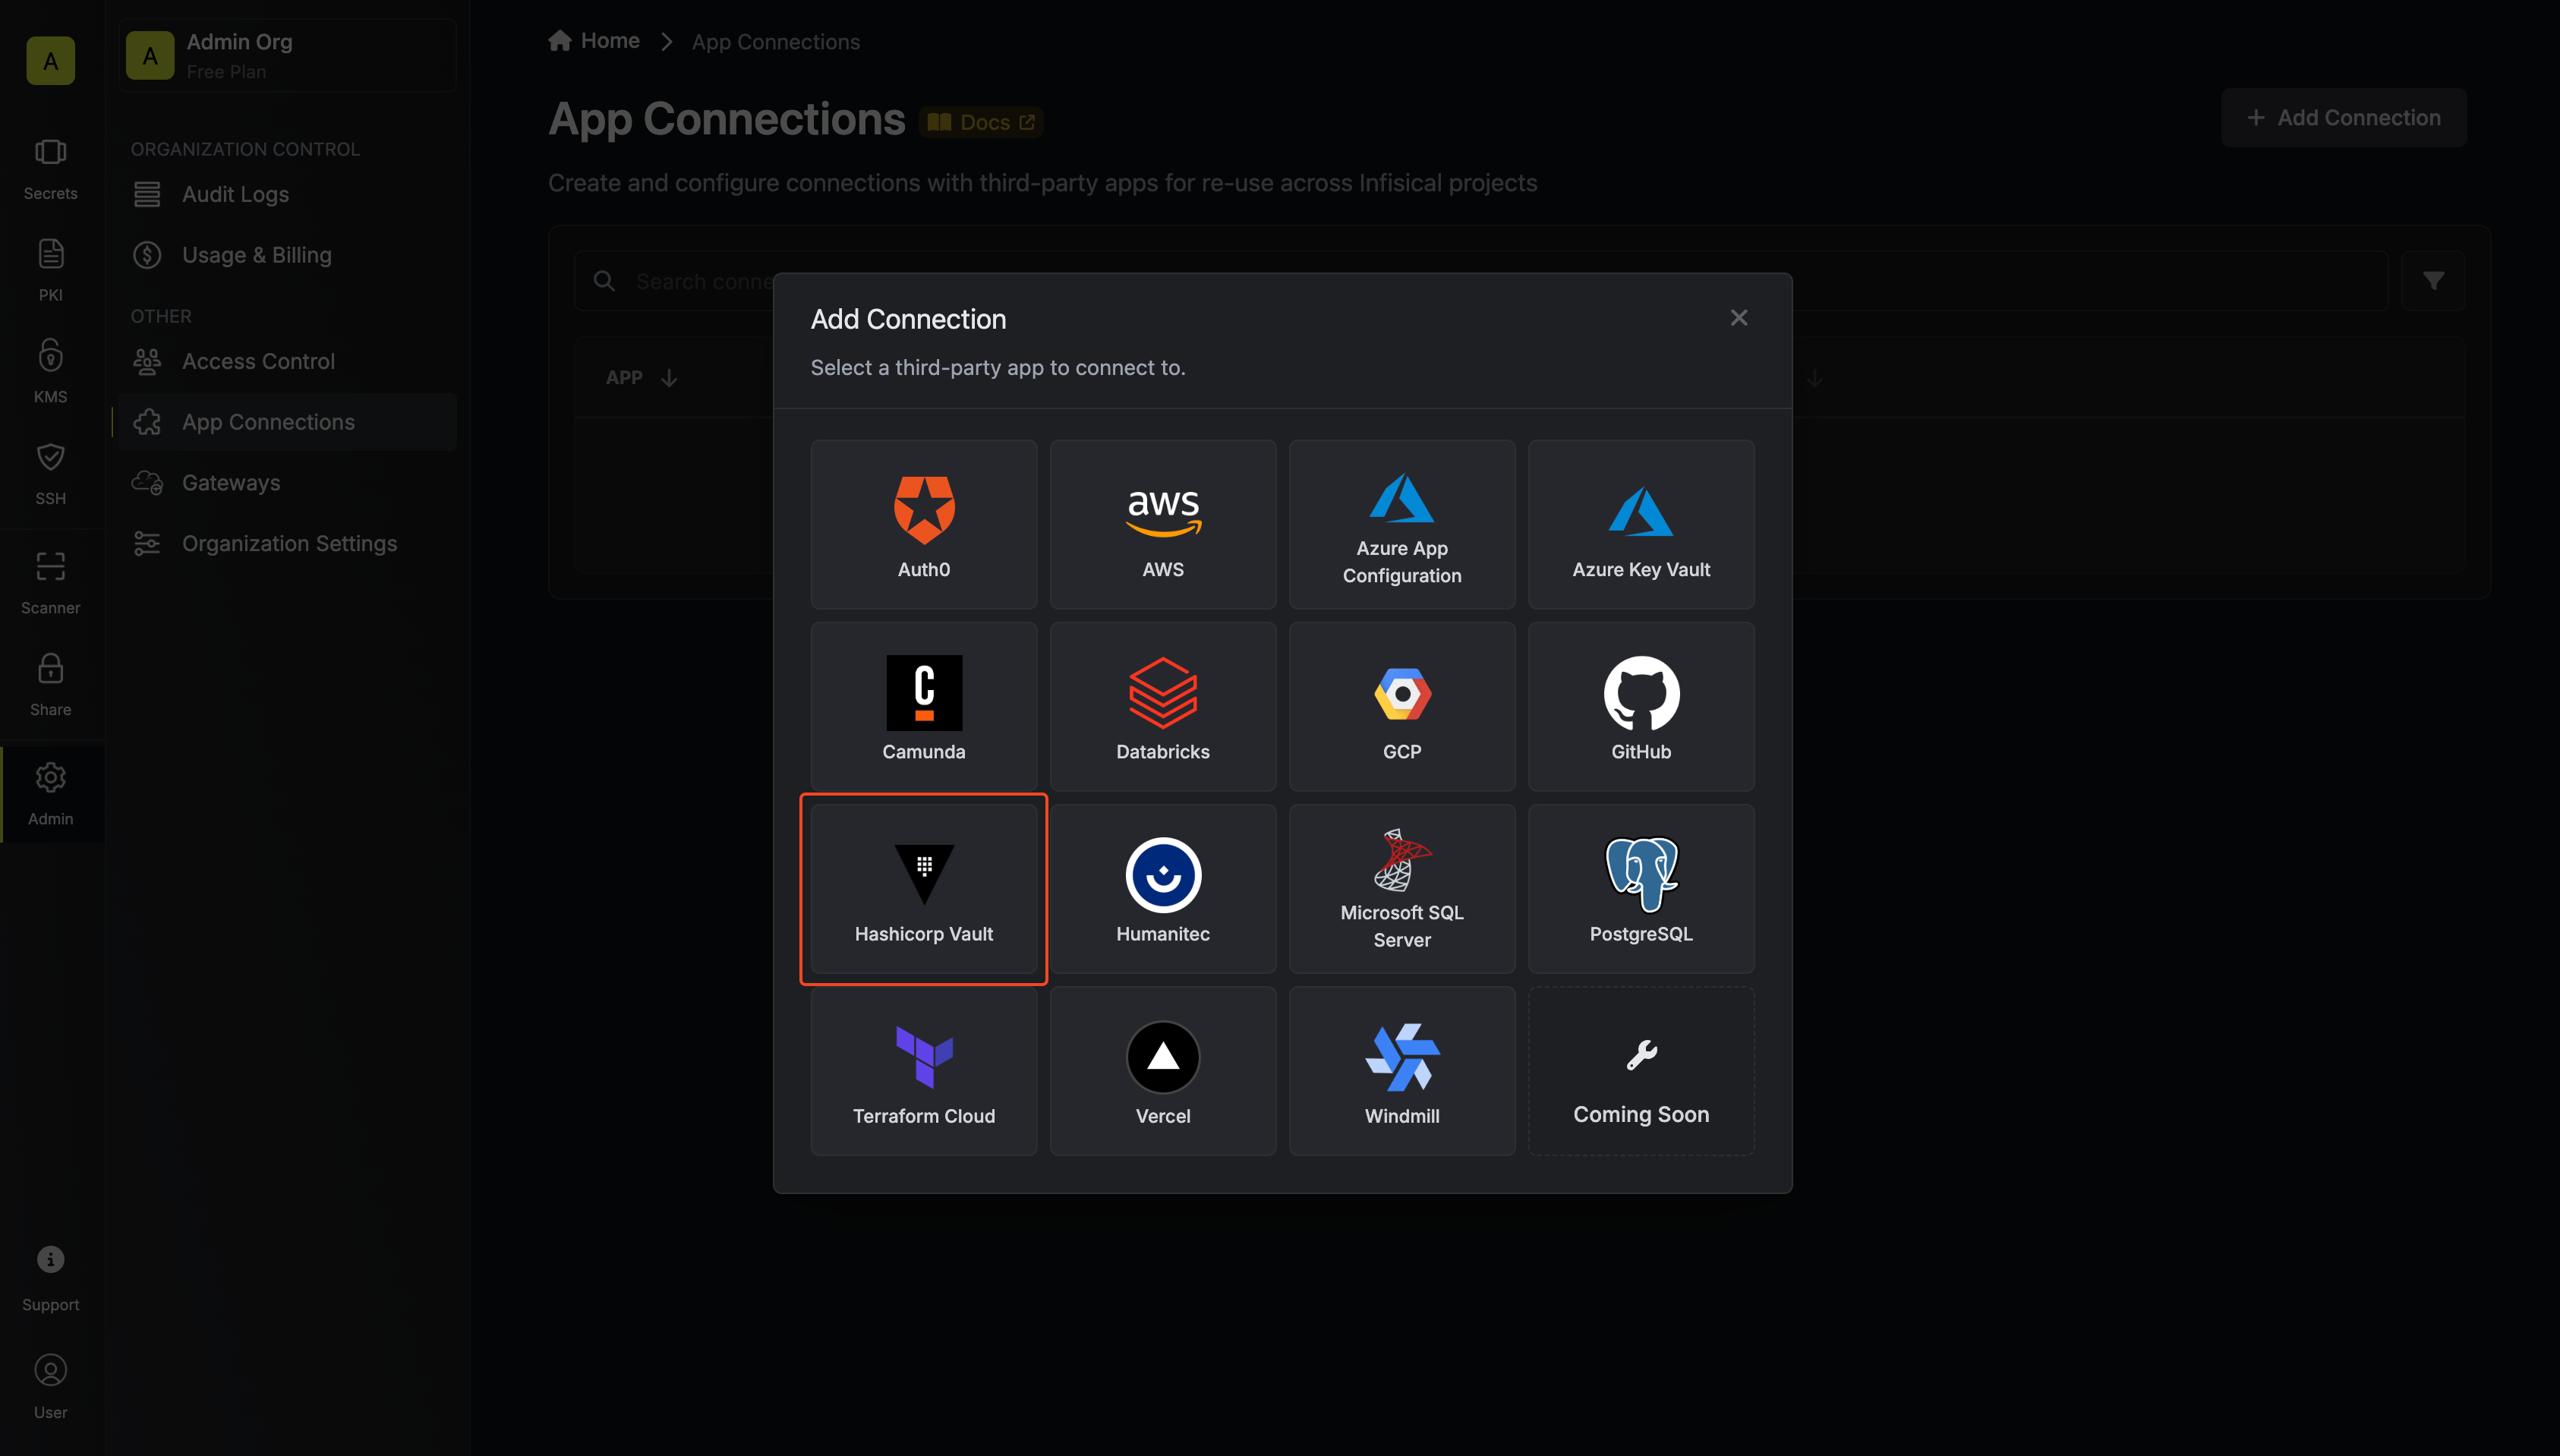
3
Configure Connection
Configure your Vault Connection using the Instance URL and credentials from the steps above. Depending on if you chose to authenticate with an Access Token or AppRole, you may need to input different information.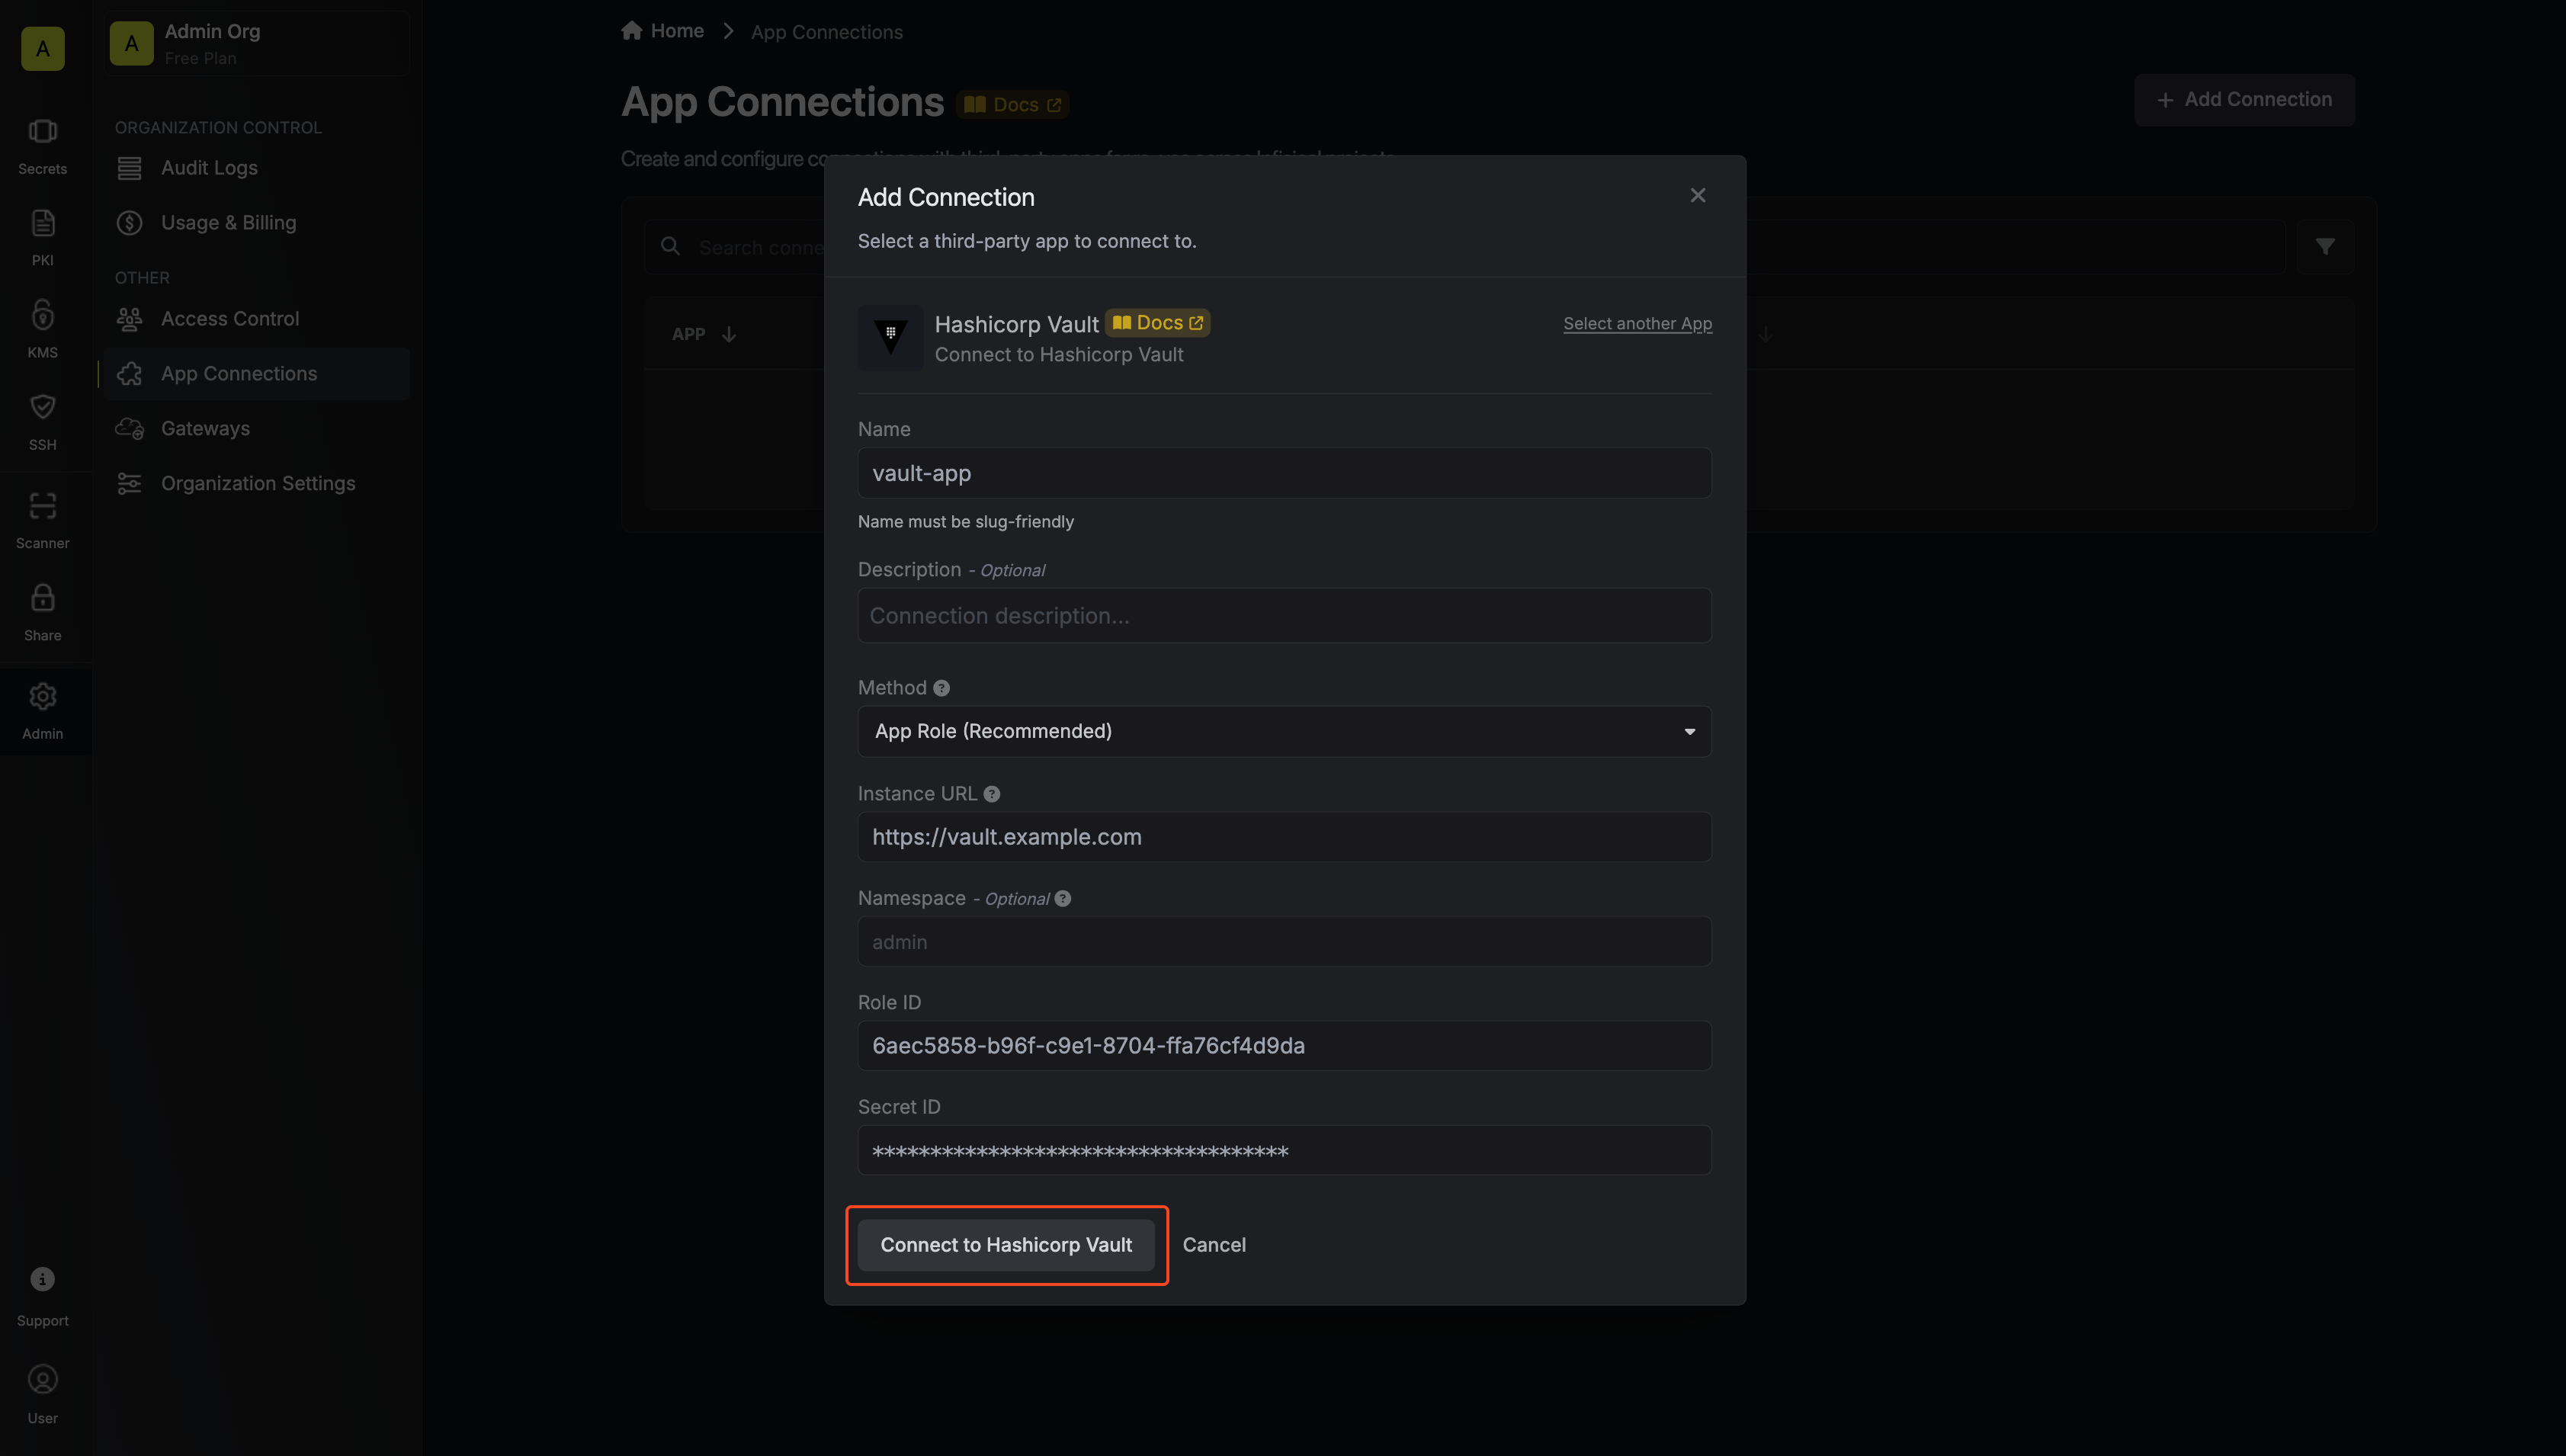
- Name: The name of the connection being created. Must be slug-friendly.
- Description: An optional description to provide details about this connection.
- Instance URL: The URL of your Hashicorp Vault instance.
- Namespace (optional): The namespace within your vault. Self-hosted and enterprise clusters may not use namespaces.
- Role ID: The Role ID generated in the steps above.
- Secret ID: The Secret ID generated in the steps above.
4
Connection Created
Your Vault Connection is now available for use.