Migrating from Vault
Migrating from Vault Self-Hosted or Dedicated Vault is a straight forward process with our inbuilt migration option. In order to migrate from Vault, you’ll need to provide Infisical an access token to your Vault instance. Currently the Vault migration only supports migrating secrets from the KV v2 secrets engine. If you’re using a different secrets engine, please open an issue on our GitHub repository.Prerequisites
- A Vault instance with the KV v2 secrets engine enabled.
- An access token to your Vault instance.
Project Mapping
When migrating from Vault, you’ll need to choose how you want to map your Vault resources to Infisical projects. There are two options for project mapping:Namespace: This will map your selected Vault namespace to a single Infisical project. When you select this option, each KV secret engine within the namespace will be mapped to a single Infisical project. Each KV secret engine will be mapped to a Infisical environment within the project. This means if you have 3 KV secret engines, you’ll have 3 environments inside the same project, where the name of the environments correspond to the name of the KV secret engines.Key Vault: This will map all the KV secret engines within your Vault instance to a Infisical project. Each KV engine will be created as a Infisical project. This means if you have 3 KV secret engines, you’ll have 3 Infisical projects. For each of the created projects, a single default environment will be created calledProduction, which will contain all your secrets from the corresponding KV secret engine.
1
Create a Vault policy
In order to migrate from Vault, you’ll need to create a Vault policy that allows Infisical to read the secrets and metadata from the KV v2 secrets engines within your Vault instance.Save this policy with the name
infisical-migration.2
Generate an access token
You can use the Vault CLI to easily generate an access token for the new After generating the token, you should see the following output:Copy the
infisical-migration policy that you created in the previous step.token field and save it for later, as you’ll need this when configuring the migration to Infisical.3
Navigate to Infisical external migrations
Open the Infisical dashboard and go to Organization Settings > External Migrations.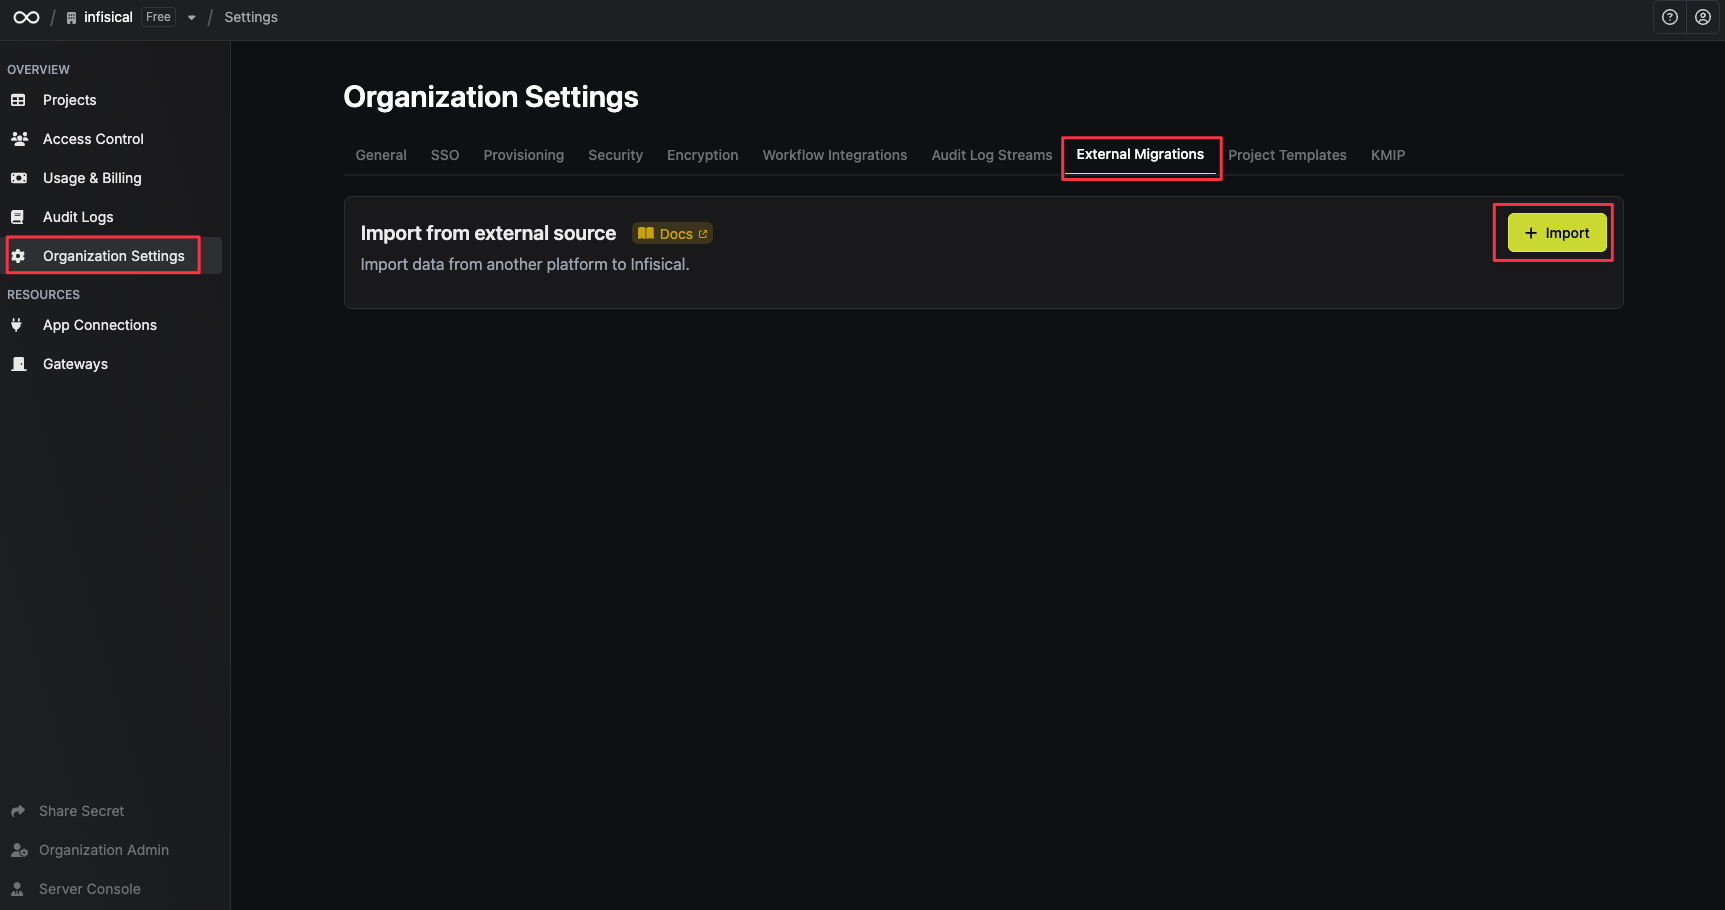
4
Select the Vault platform
Select the Vault platform and click on Next.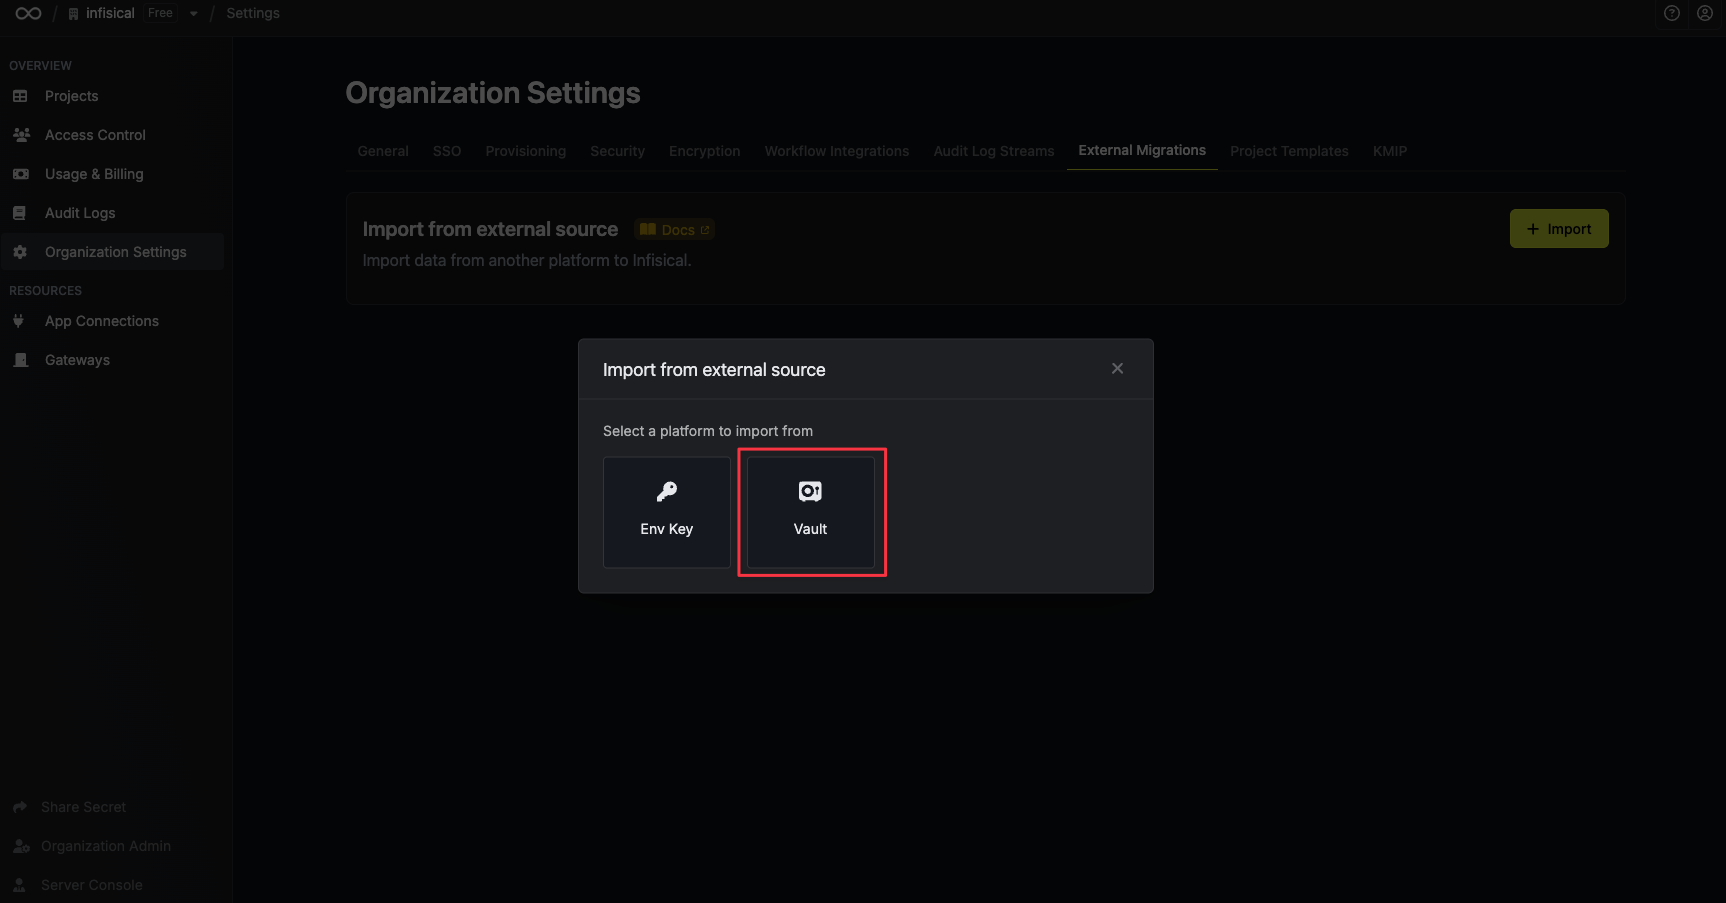
5
Configure the Vault migration
Enter the Vault access token that you generated in the previous step and click Import data.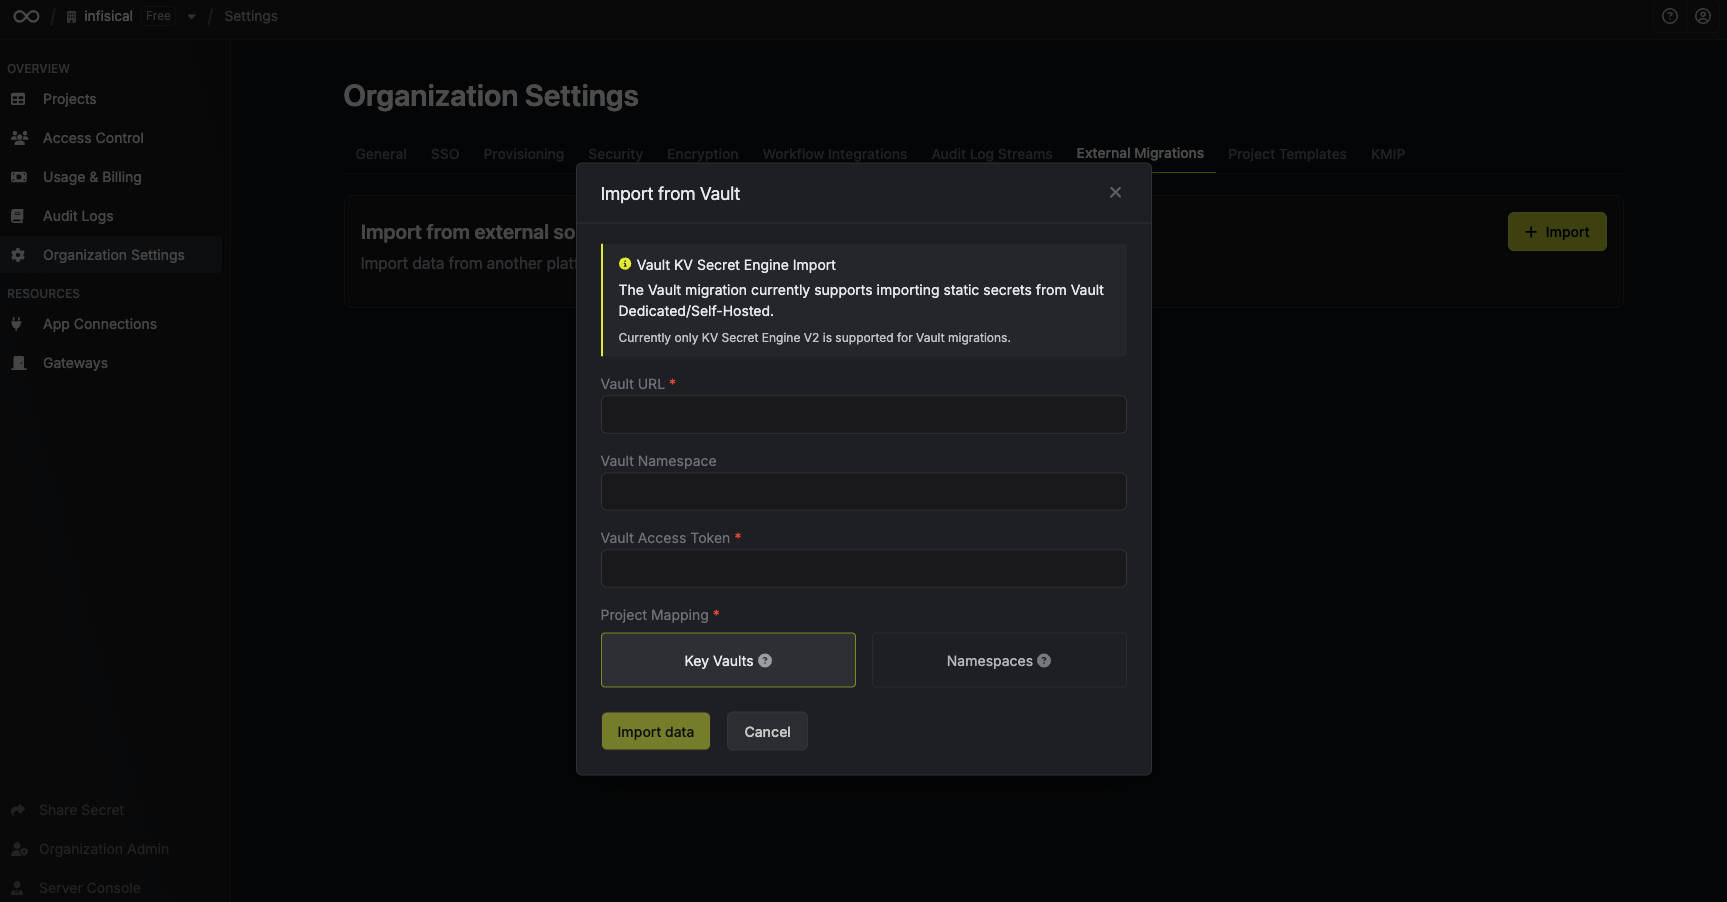
-
Vault URL: The URL of your Vault instance. -
Vault Namespace: The namespace of your Vault instance. This is optional, and can be left blank if you’re not using namespaces for your Vault instance. -
Vault Access Token: The access token that you generated in the previous step. -
Project Mapping: Choose how you want to map your Vault resources to Infisical projects. You can review the mapping options in the Project Mapping section.
It may take several minutes to complete the migration. You will receive an email when the migration is complete, or if there were any errors during the migration process.